Stuart Farm

  • Our Story
  • Shop
    • Our Store
    • Where to Buy
  • Come Enjoy a Farm Stay!
  • Our Classes
  • Fertrell Products
  • Contact Us
  • Blog Posts
    • Our Animals
    • Mother Nature
    • Our Garden
    • Recipes
    • Farm Life
    • Projects
  • Consultation Services
  • 0 items

PIGLETS!!!

Posted on October 14, 2015 Written by Serena 1 Comment

IMG_4851
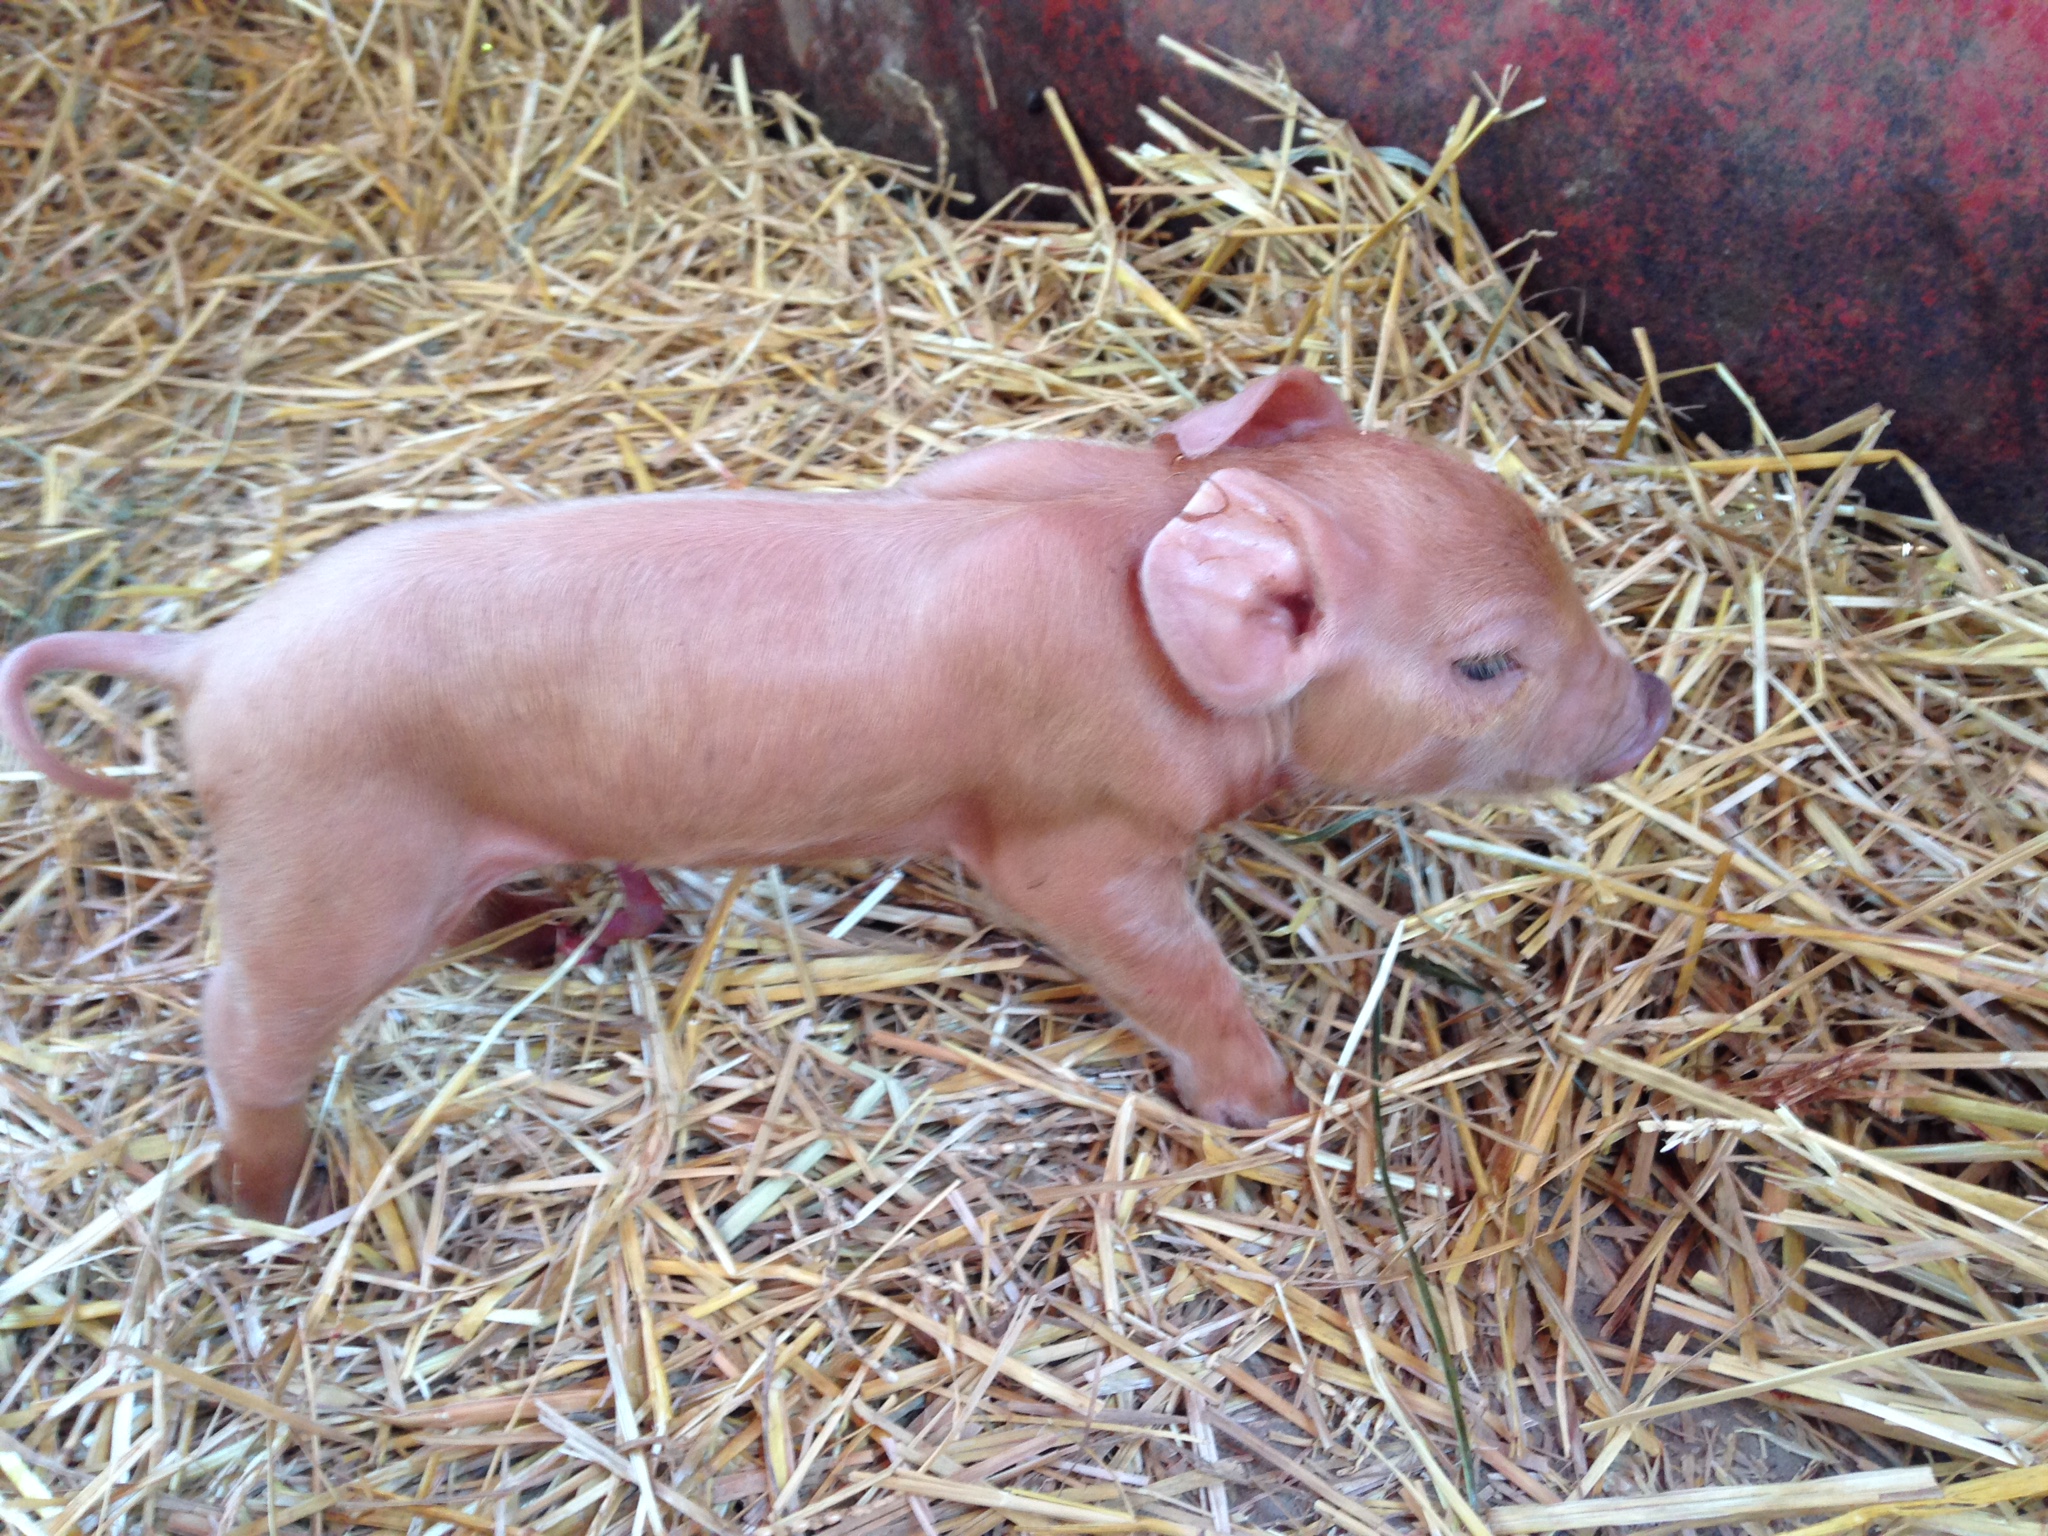
Just born and already up and running.


I once read that if you call a baby pig a piglet, it shows you are not a serious pig farmer.  And you know what, I am fine with that. Because we have the cutest PIGLETS EVER!

I have always loved piglets. They are just so darn cute!  I did an internship at the Houston SPCA and we had a litter of piglets dropped off.  I couldn’t help myself and I went into the pen with them.  My supervisor came in yelling, “What are you DOING?!” I said, “They’re just too cute, I had to!” “NO!!!”, he screamed, “they have mange!!!”  Truth be told, I only got out of the pen because I knew he wanted me to. Seriously, they were that cute.  And now that we have piglets, I am not much better.

Like most birthing I am a part of, I am a wreck.  We got Gertie’s house set-up the day before she farrowed.  We had plans of building a fancy house, but ended up backing the trailer up to the fence, setting down a mat and straw, building a roll bar so the babies can get away from momma, and letting her in.  She went in surprisingly easy, had been talking to Flossie in a strange voice all day, and kept rubbing on my leg, so I knew she was close.

The next morning she farrowed.  Thankfully, we had a 5 am knock on the door that the cows were out.  Once the cows were back in, we went to check on Gertie and there was one stillborn and one live pig.  We waited and waited but nothing was happening and there was no afterbirth.  Luckily, I had a neighbor with some oxytocin and 30 minutes after the injection, out shot two more piglets.  It was a small litter, but all were healthy.  There were two girls, Solamente and Corky, and one boy Shooter.  Solamente, because we thought she was the only one; Corky because she was the one blocking the way; and Shooter because he literally shot out. The afterbirth came soon after, and Gertie quickly cleaned everything up.  Contrary to popular belief, pigs are very clean and keep a very tidy house.
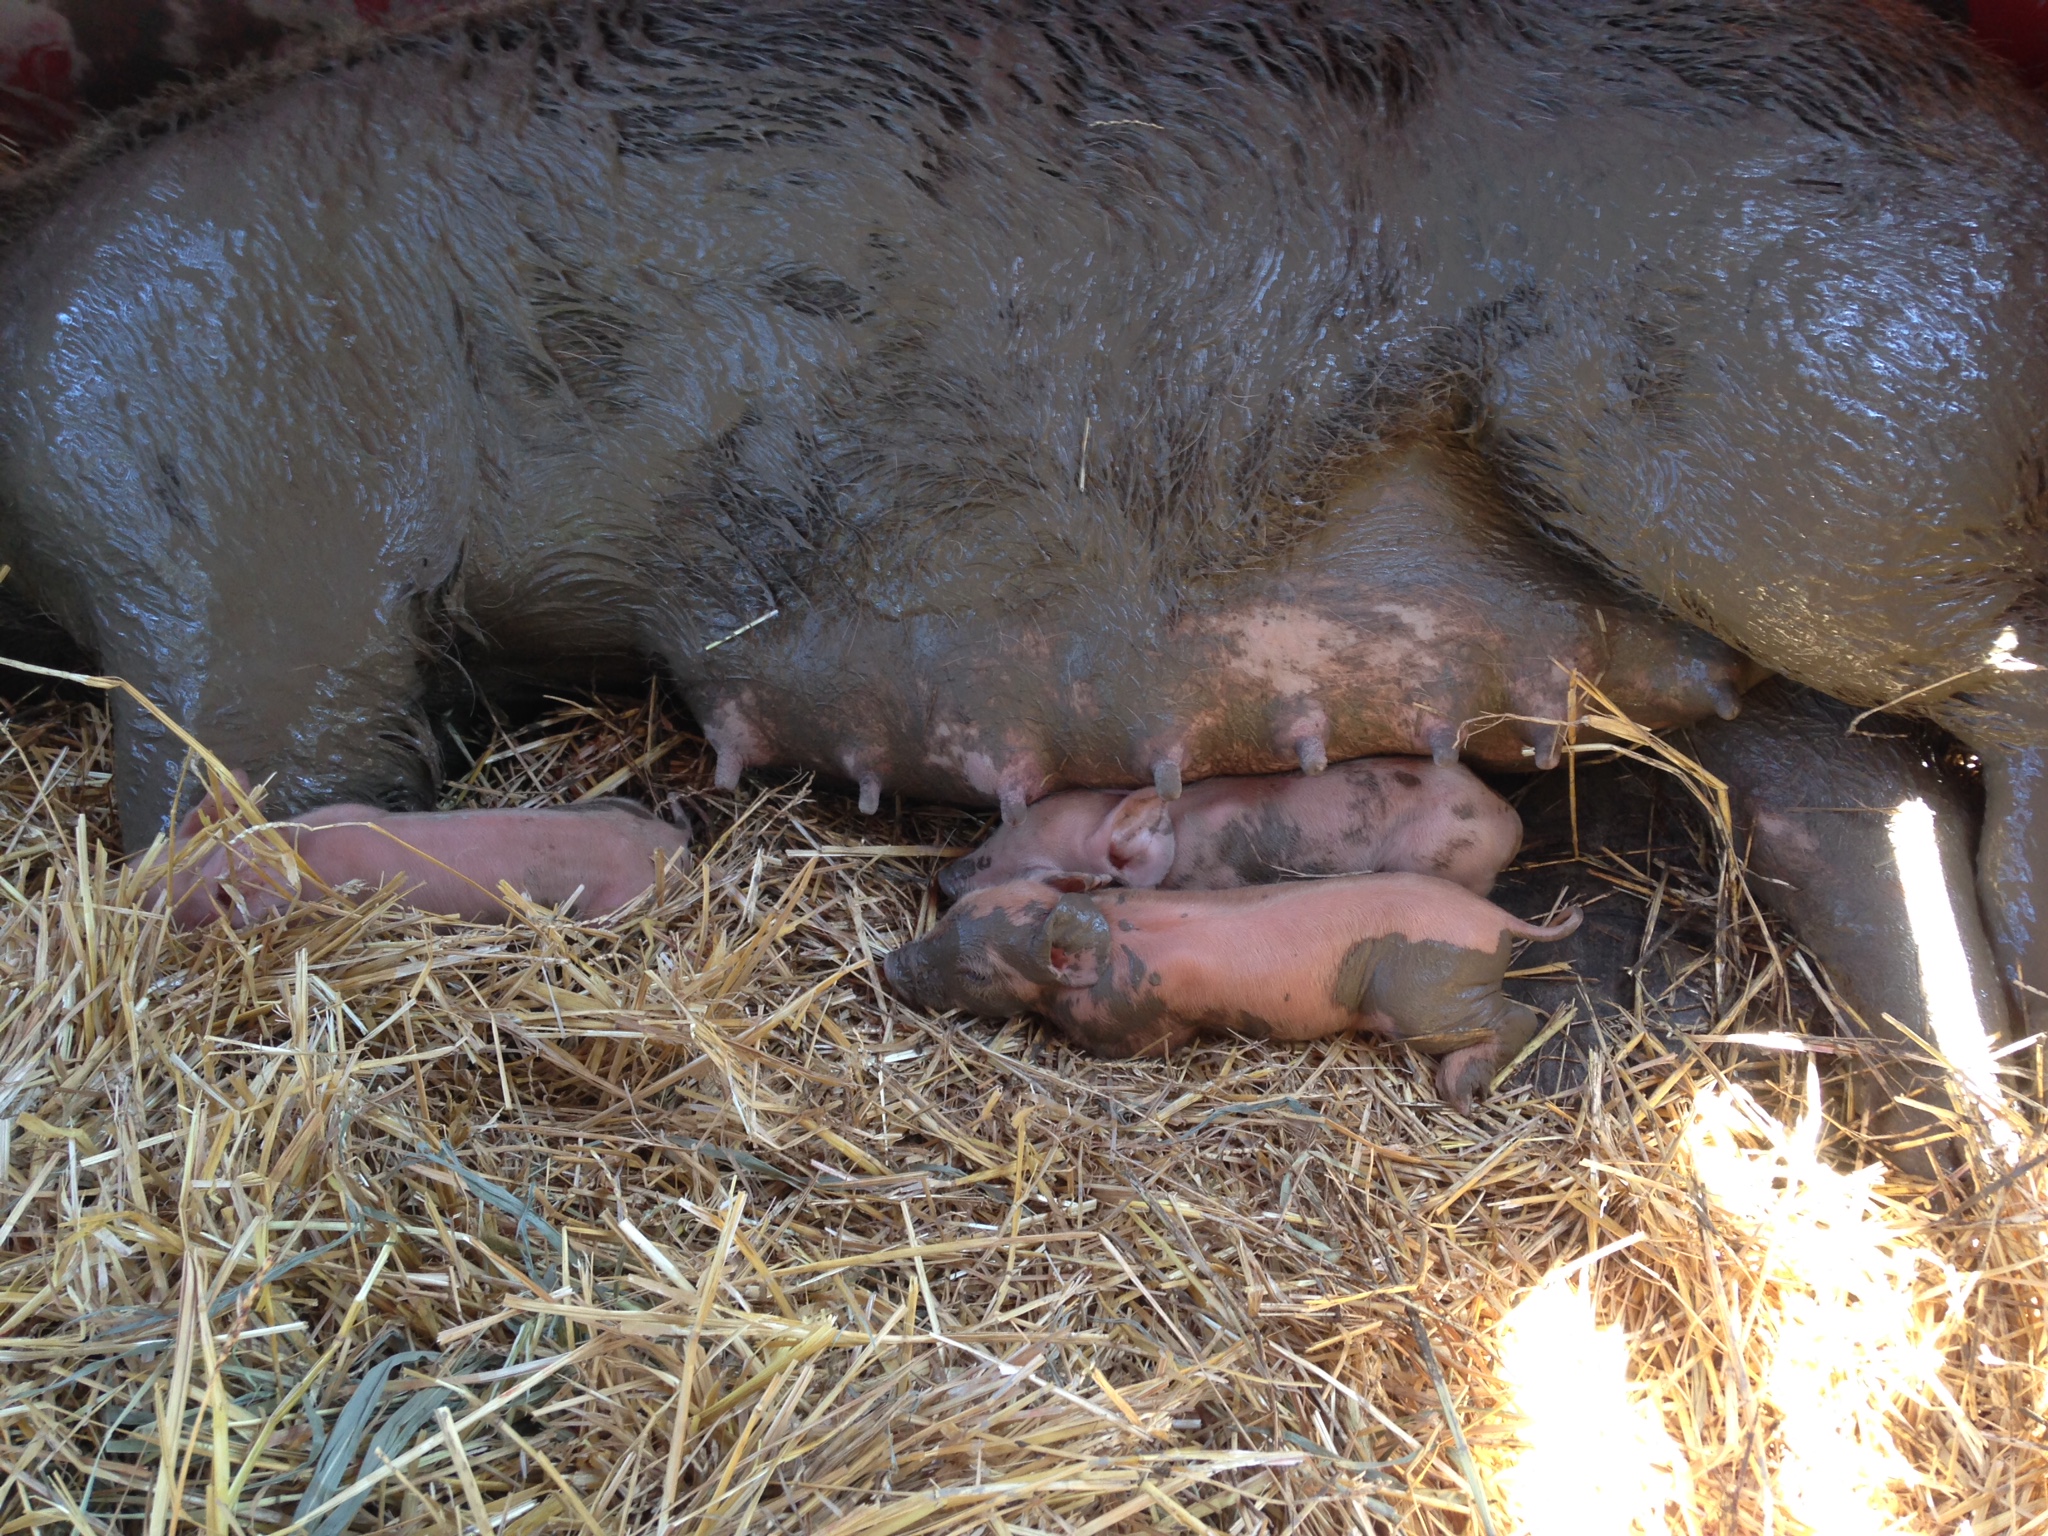
A little mud never hurt anyone! Especially if you are a pig.  The pigs will get iron from the dirt so we don't need iron shots.
A little mud never hurt anyone! Especially if you are a pig. The pigs will get iron from the dirt so we don’t need iron shots.

Once everyone was settled in and nursing, it was time for me to do my thing…sit and watch.  When we have a new baby, the whole day, if not two or three days, is shot for me.  I doubt I will be any different witnessing my 100th birth.  It’s just a magical experience to watch momma and baby figure it out together.  And it’s when I get to learn.  With the piglets tucked in the straw, Gertie decided to cool off in the wallow.  When she came back in, the piglets scrambled to nurse and were covered in mud.  My first thought was, “is that ok?”, but figured she knew best.  And sure enough she did.  Piglets who are not exposed to enough dirt, may need iron shots. Gertie was making sure that was not needed.  And from then on, instead of pink piggies, we had dirt balls. Which is as it should be.

No, really, Auntie said we could stay in her house.

Gertie was a great mom. She was protective of them with us, but not to where we thought she would hurt us.  With each day, we could handle them more with her present.  And Flossie was a terrific auntie.  You hear about a momma pig or another sow eating babies, and I was so afraid of that with Flossie.  But she took to them like they were her own.  And since we think she lost all of hers during the Great Pig Caper, her gentleness towards them was a huge relief.  We separated the pen so each sow had a side, but the wire was high enough for the babies to go under.  And a lot of their time was spent with Auntie Flossie in her house. They would go to momma to eat, then go back to Auntie.

You will notice in the photos their ears are notched.  We do not like this practice, but in order to register them, they must be notched.  This helps to keep track of the breed numbers and assure they are not crossed with another breed.  Since Tamworths are considered “threatened” by The Livestock Conservancy, keeping the breed lines pure until their removal is one of our goals.  It also helps us to identify a pig easier and keep track of any treatment or injuries a certain pig may have recieved. We ear notch at 2 days so they can get enough colostrum to help with healing, but are still young enough that there is little blood flow to the ears.

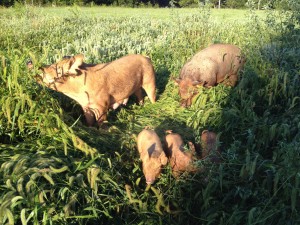
They have been doing well on pasture; learning what to and not to eat.  Pasture time is a bit more play time for them.  Lots of room for piglets to run and play chase.  Acorns are starting to fall and soon everyone will be in the woods putting on some winter weight.
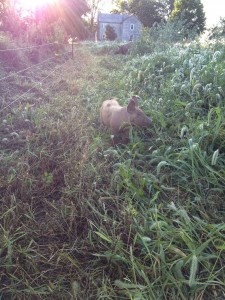
Trying to figure out what to eat.
Shooter in the garden.
Everyone in the garden to eat, root, trample, and add manure.
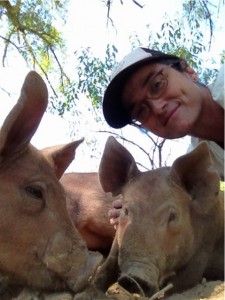
Solamente, Shooter, and me.


Filed Under: Our Animals Tagged With: pigs

2014 Year in Review

Posted on January 13, 2015 Written by Serena 4 Comments

Serena & Fred_Oct 11 2014 With a full year of being on “our farm” behind us, it is wonderful to look back on all of our work and all of the new dreams that have sprung from that work.

This year our “spare time” was spent cleaning the farm, particularly cleaning out barn stalls, sheds, and coops to get ready for more animals and hopefully a more efficient running farm.  We have cleared out a lot of junk/trash (3 trips to the dump) to start assessing where new fence lines, corrals, coops, and gardens will go.  Anyone who did not see the farm before would not think we have done much.  Luckily, I took some before photos/videos to remind us how far we have come.

Side of the coop before.
Looking in from the other side.
The girls love the “after”.
Front of the coop before.
Much better!

The decision to downsize our 2014 chicken production was hard.   We love our customers and we love that they love our chicken so much.  Even though we needed to do this to take care of other tasks on the farm, by mid summer, we were already talking about ramping back up for 2015.  We don’t have exact numbers, but will probably only do an extra 100 this year.  So if you would like chicken in the spring or fall, let us know NOW.

The up-side of the downsizing is having the time to organize something we have been talking about for over a year…offering chicken raising and butchering classes.  If you go to our new “Our Classes” tab, you will find 3 different classes to get you prepared to raise and process your own food.  Depending on the interest, we may add more classes in the fall.

This year we also became a dealer for Fertrell feed supplements and fertilizers and distributor for organic feeds.  We use the Fertrell Nutri-Balancer, Aragonite, and Fish Meal with our layers and meat birds, and we love the results.  A little of these products goes a long way and makes a huge difference in the end quality of your eggs and meat.  You can find more information on Fertrell products here, as well as, our price list.

My garden did pretty well this year. The layer of cardboard and straw helped a lot with weeds. I was able to can 2 gallons of tomatoes and made about 2.5 pints of chili powder from my own ancho chilis!  The mulberry and cherry tree provided us with some lovely treats as well.  I started my Hugelkultur garden and will be finishing that this spring.  The plan for this year is to concentrate on growing our staple foods…garlic, onions, sweet potatoes, tomatoes, beans, peppers, and peanuts.

We lost one of our cows, Solei, but also had 2 calves, McRib and Geri.  We let 3 hens go broody and they hatched out a dozen chicks.  I love having momma hens!  Downsizing meat chickens meant only processing 189 this year. Yes, that is downsizing.  Fred and I had an all-time best time of 42 chickens processed in one day.  Hard to believe doing 20 with help used to wipe us out.

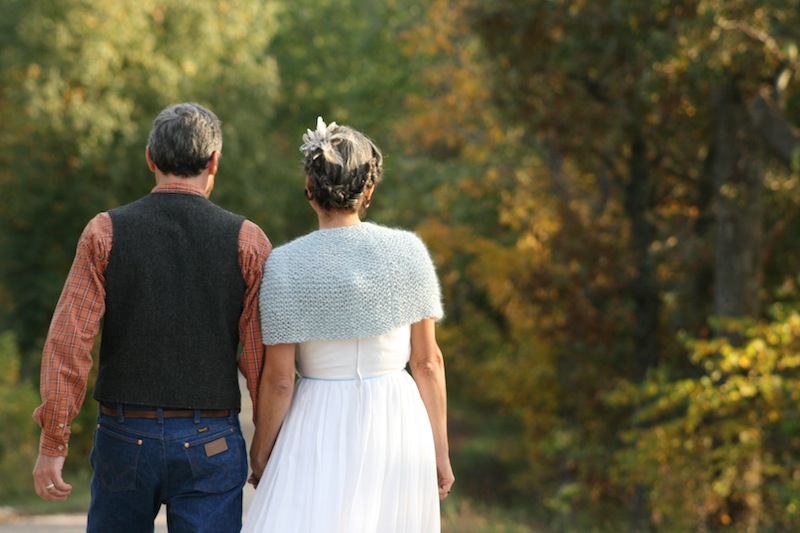
And…we got married!  Fred proposed Christmas 2013 and the following October we had a small ceremony on our farm.  In true Fred style, he not only carved my engagement ring from walnut, he cast our wedding rings from 2 spoons from my grandmother collection.  Yes, I am lucky to have him.  I made my bouquet flowers from rooster feathers and my sister knit my wedding shawl.  My niece, Bella, was our unconventional flower girl and she and my nephew, Kees, were in charge of picking pasture flowers for the tables.  Our friend Jamie preformed the ceremony in the middle of a circle of family and friends in our pasture.  It was a perfect day and so perfectly “us”.

Mr. and Mrs. Stuart
Mr. and Mrs. Stuart
Perfect wedding flowers.
Ring and flowers.
Ring and flowers.
We said goodbye to Solei this year.
Solei and McRib.
Solei and McRib.
Geri and momma Daphne.
The garden in early spring.
Josie with Adder and Cooper.
Homemade chili powder
Hugelkultur
Hugelkultur

Filed Under: Farm Life

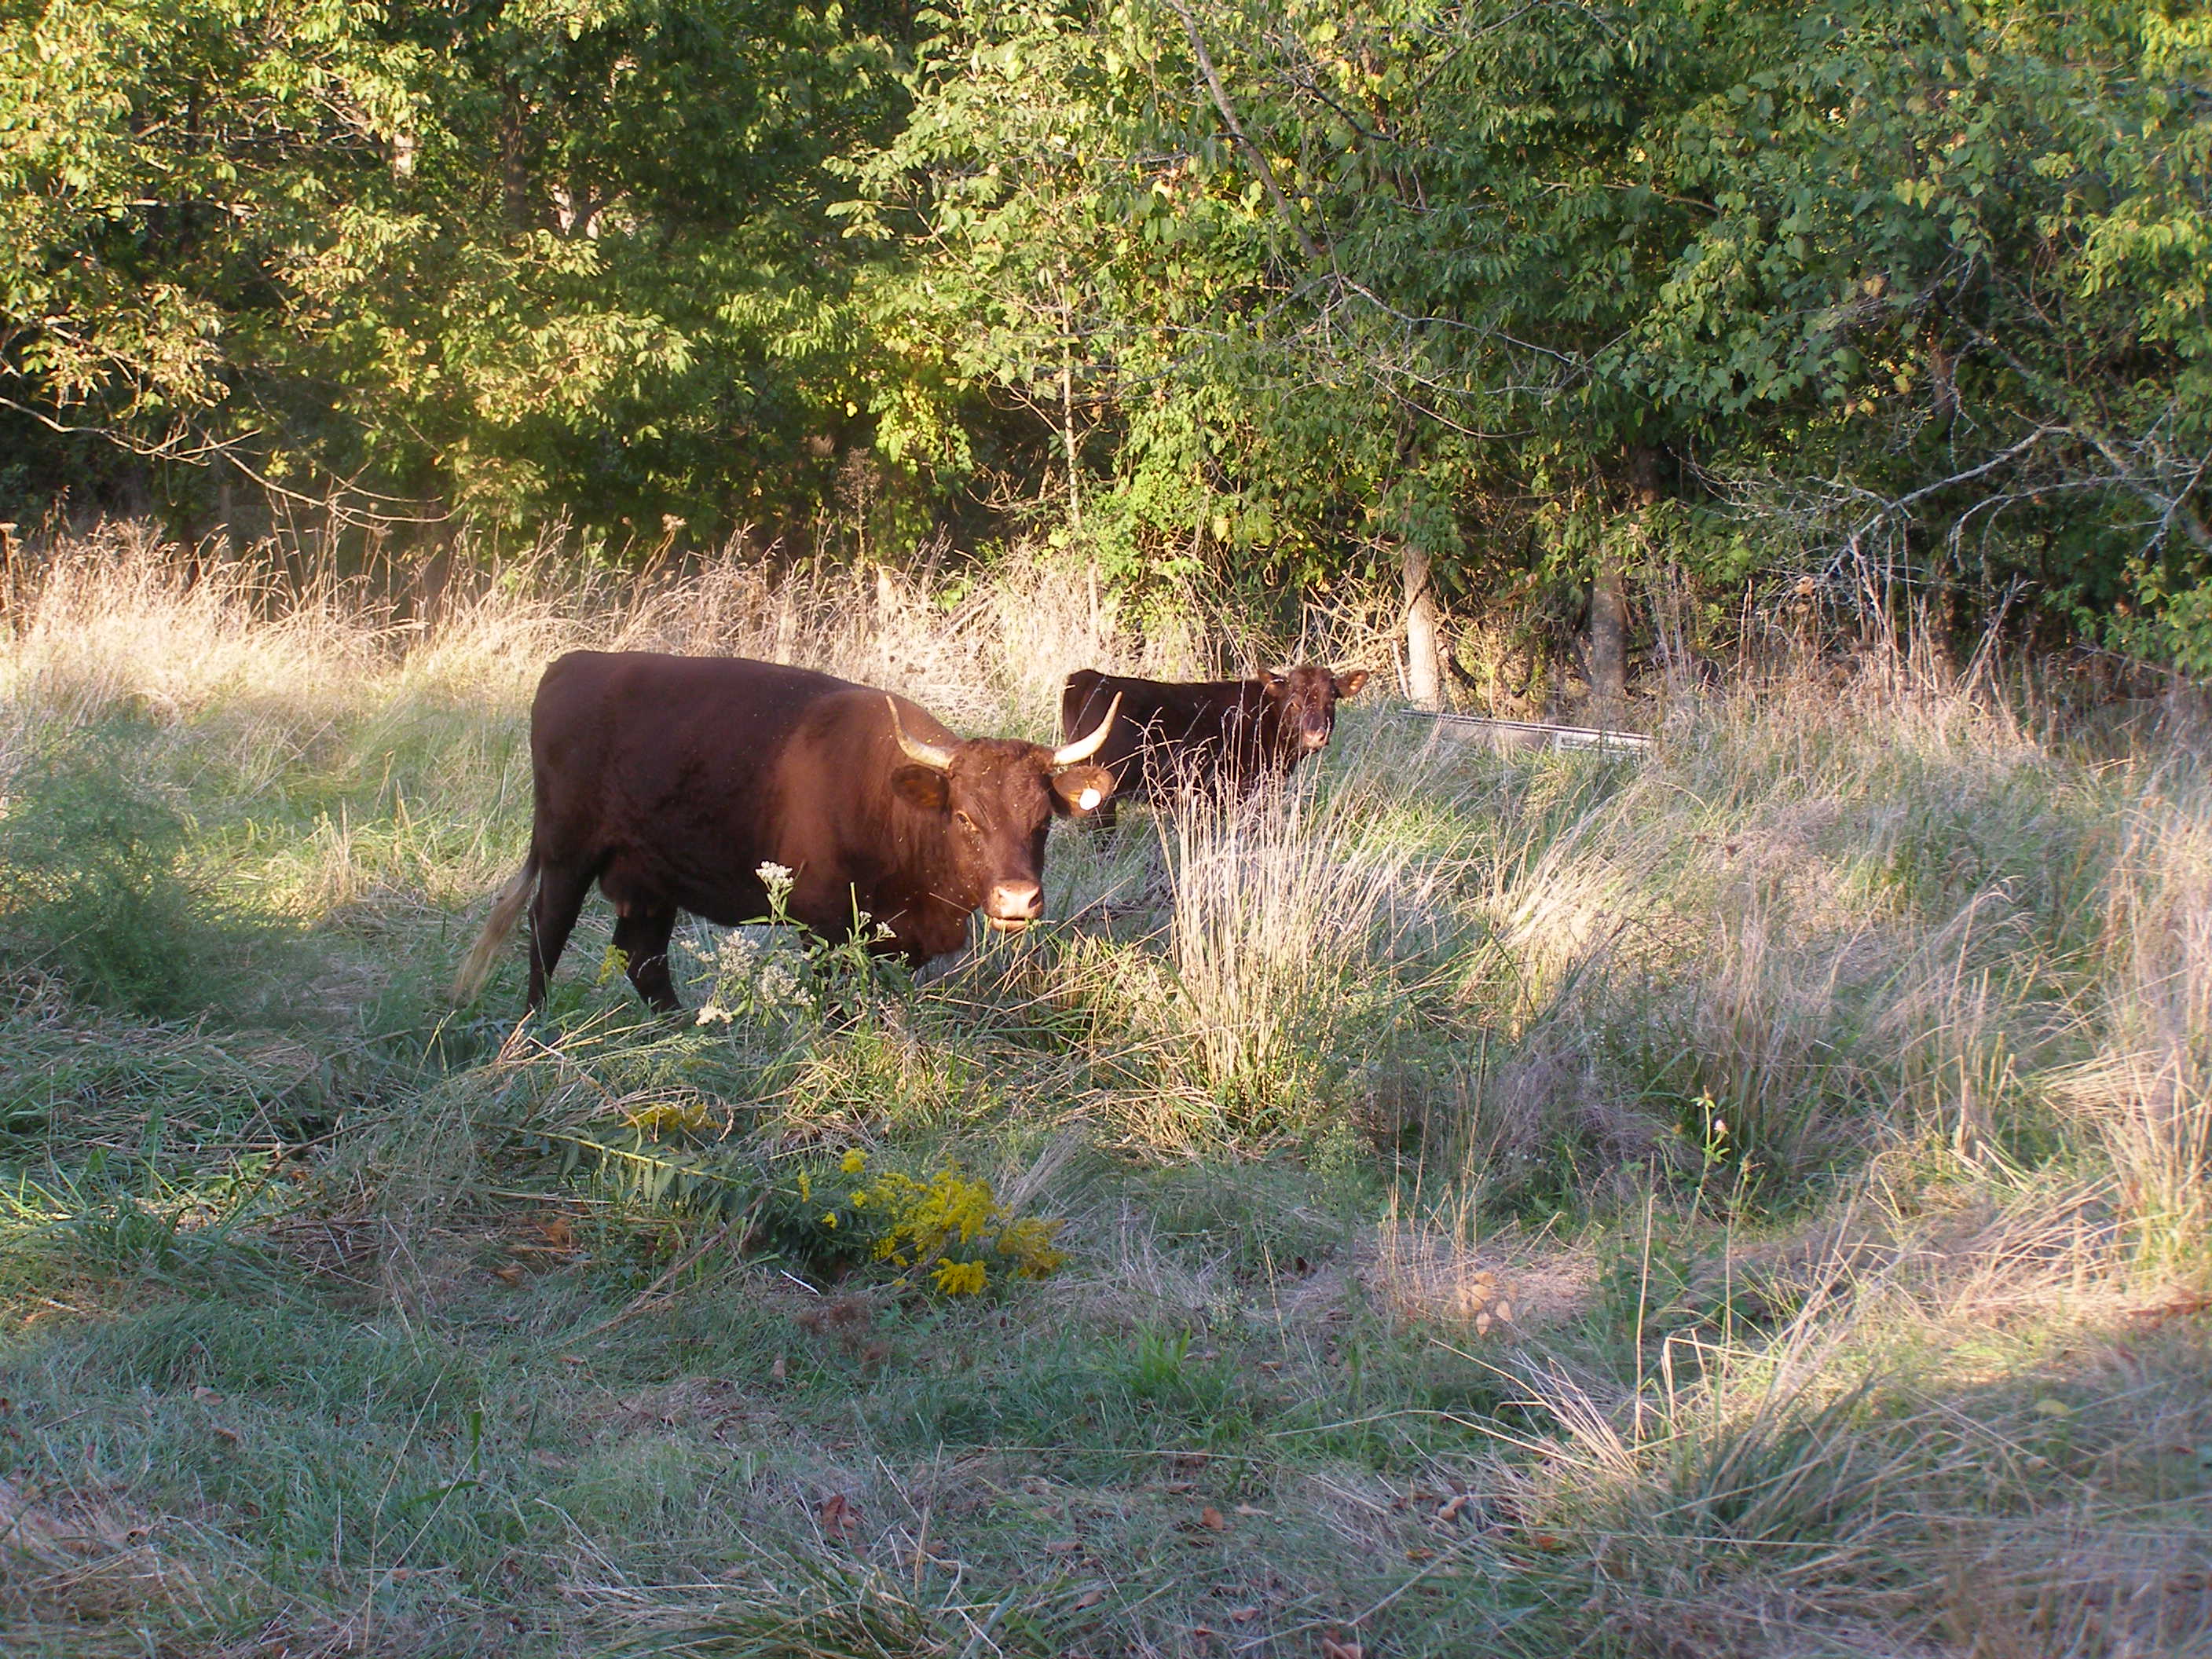
Momma, Clementine, and Redd…our Milking Devons.

Posted on April 4, 2014 Written by Serena 1 Comment

Momma & Clem enjoying the last of the fresh grass.

In the spring of 2013 we bought our first cow/calf pair of Milking Devons.  We drove all the way past Jefferson City, MO to pick them up.  We were both so excited..Fred would get milk and I would get my oxen.  Once we were back on the farm, I was in charge of naming them. When I looked at the cow, all I saw was a momma.  So that stuck. The calf was a bit different.  I had thought of a few names, but Fred didn’t like them.  So one day, watching her in the sunlight, she was such a beautiful orange color, I thought of Clementine, or Clem for short.  And that stuck, much to Fred’s chagrin (he said it sounded too much like phlegm).

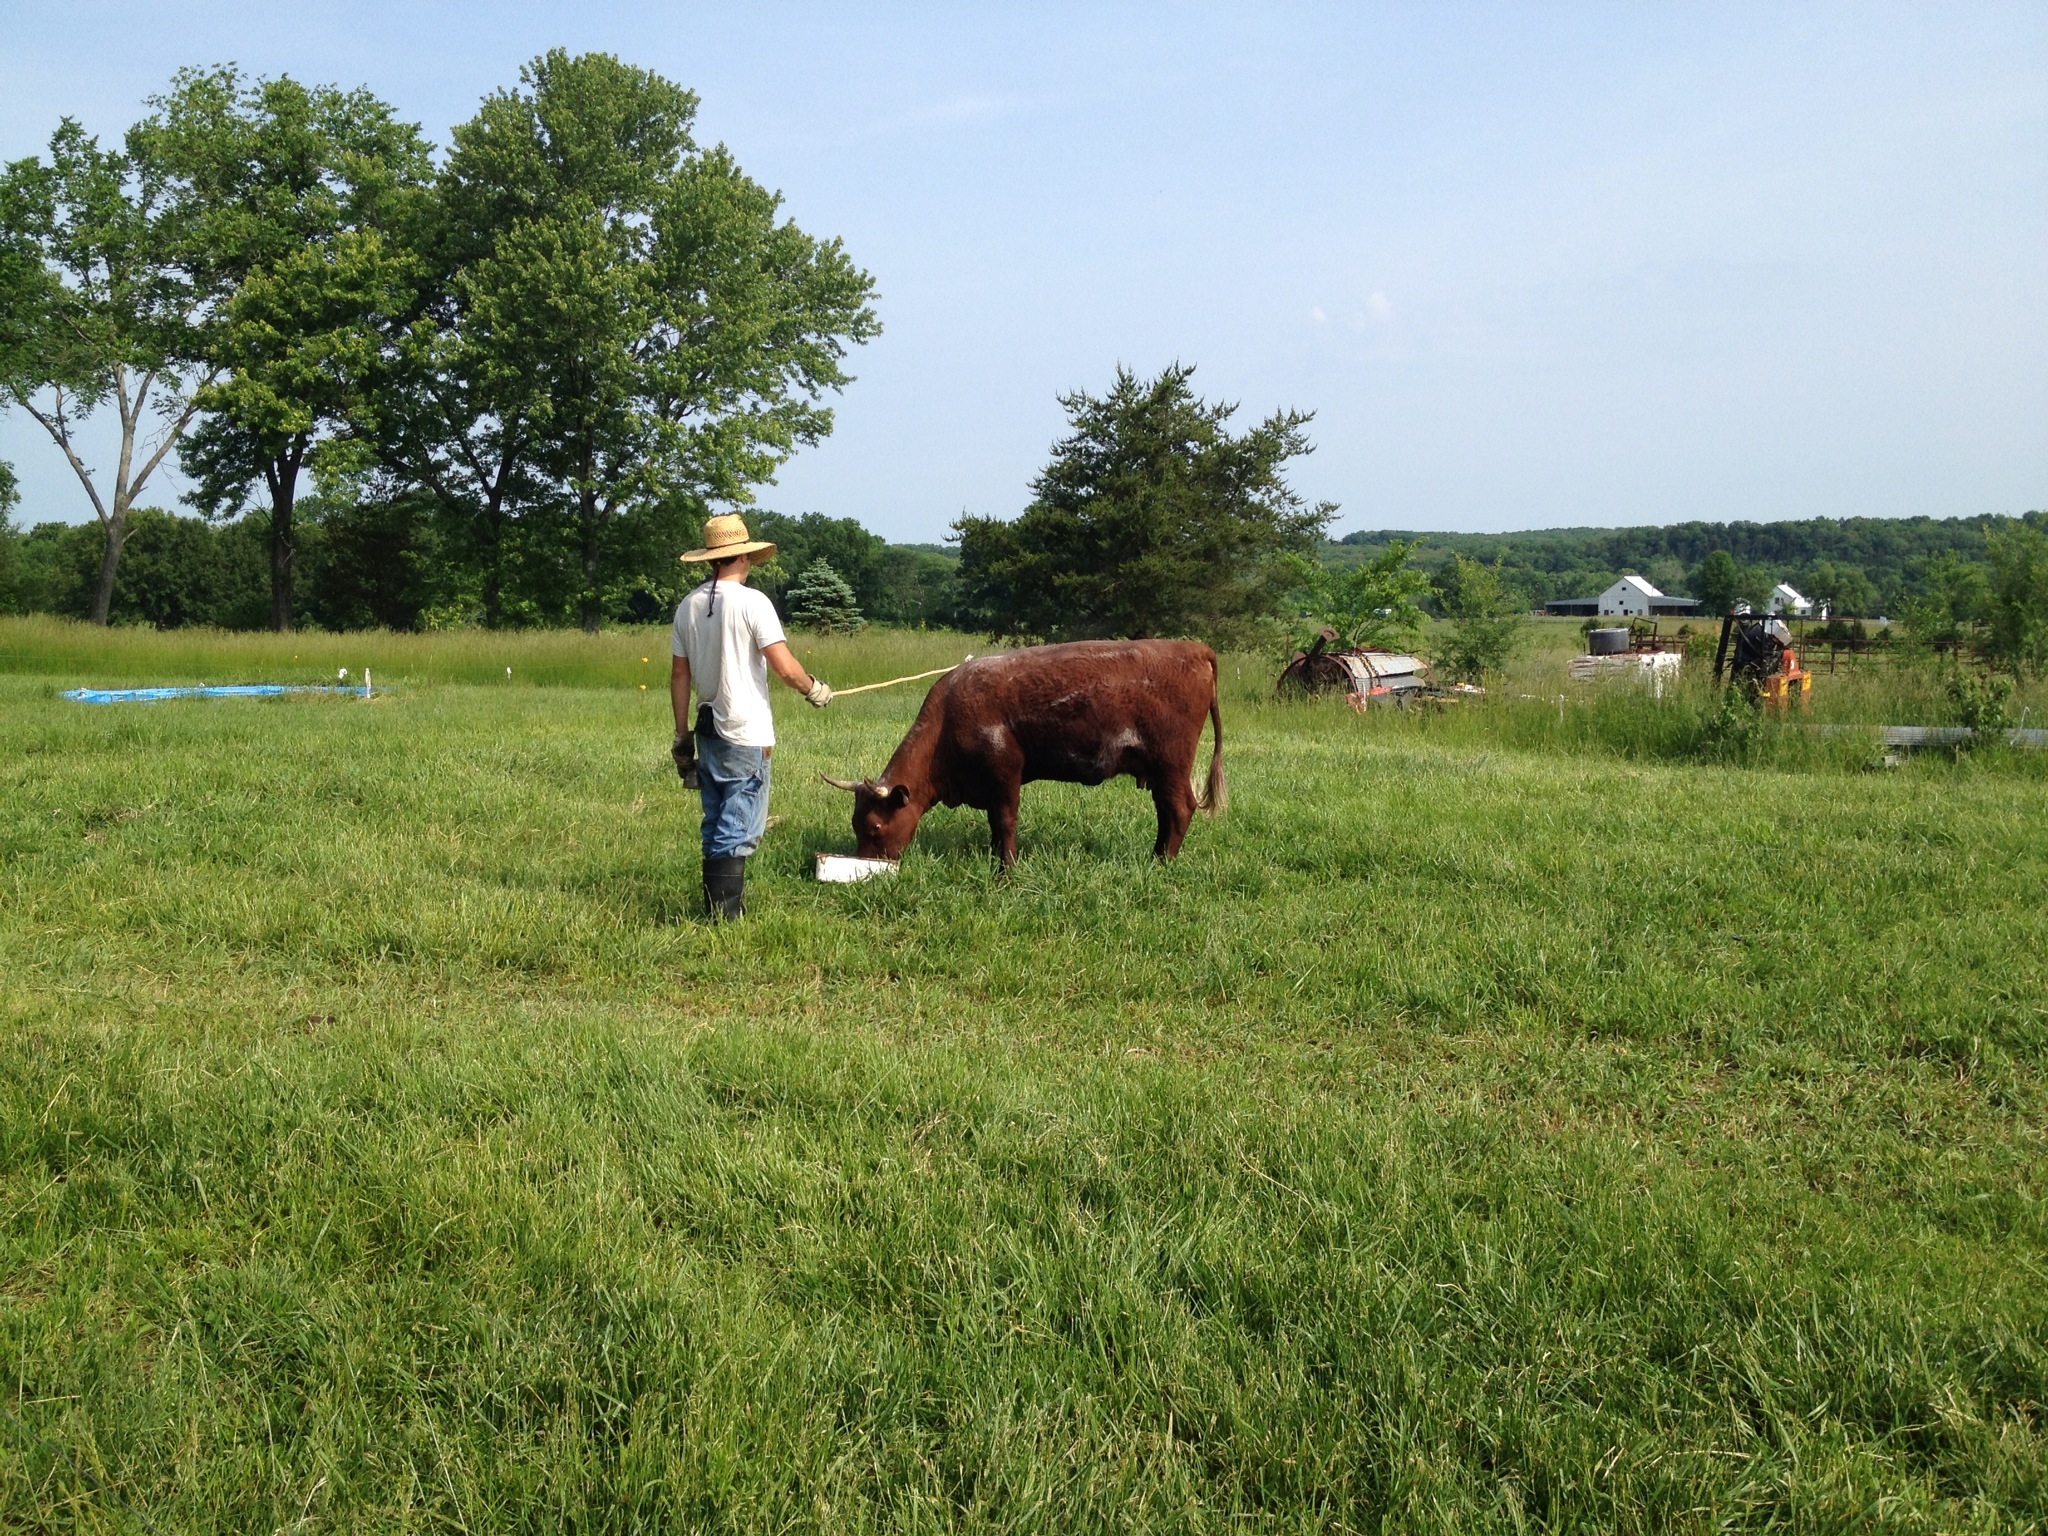
Fred's first week  working with Momma.
Fred’s first week working with Momma.

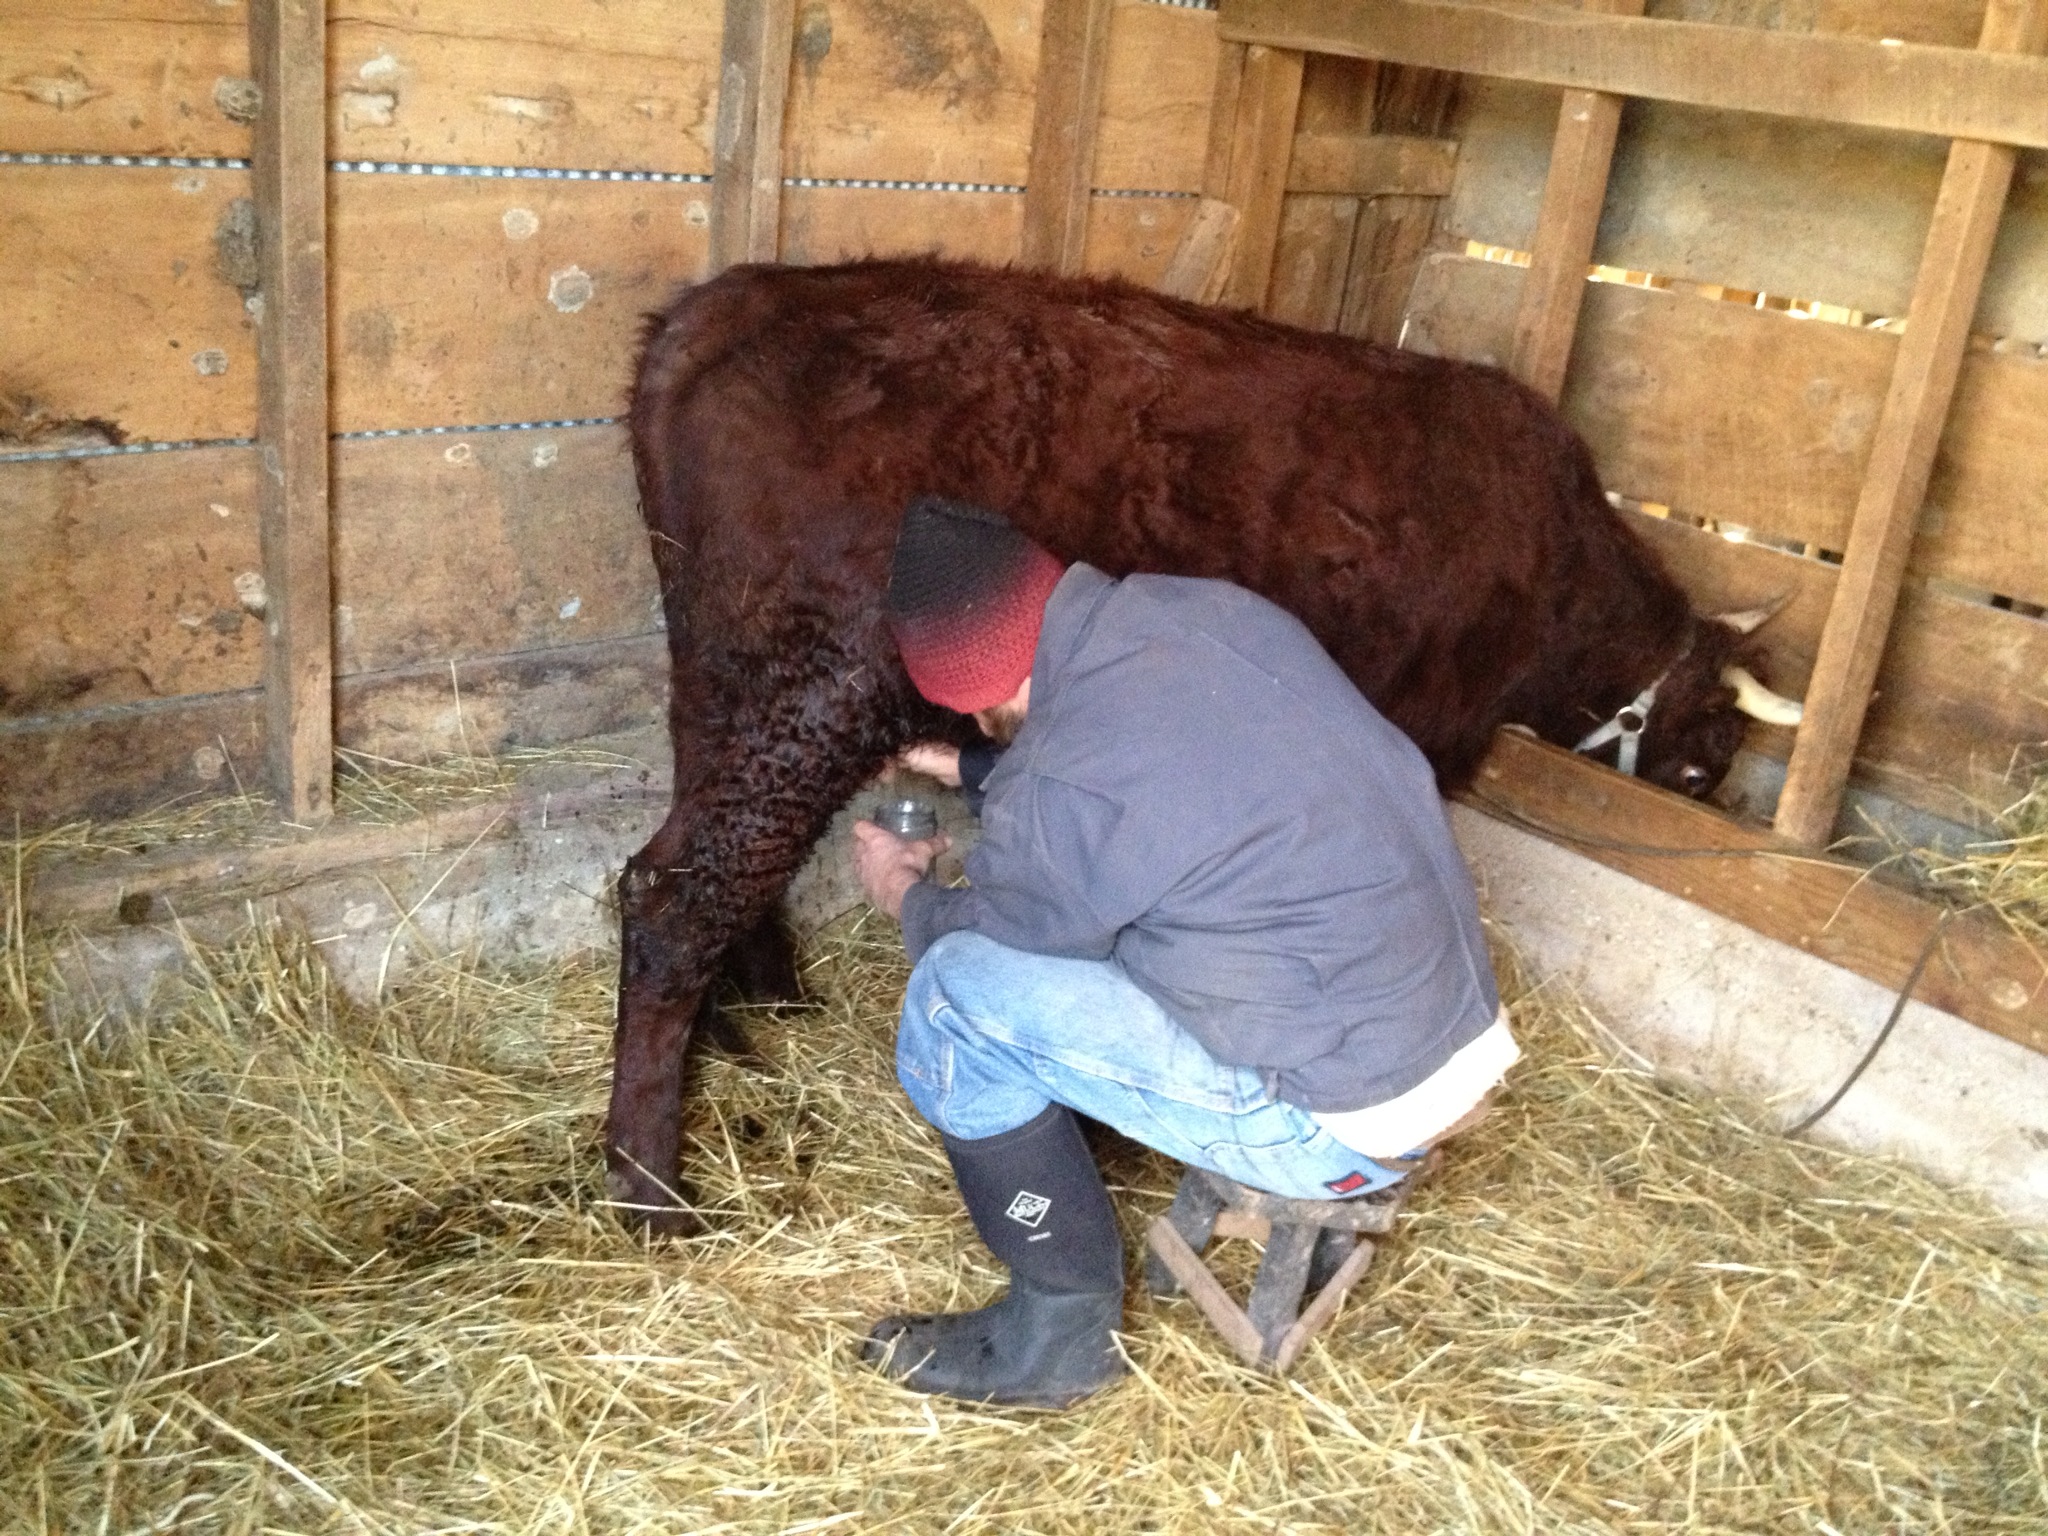
Fred has been really good at working with them.   Momma wouldn’t come near us at first. After 2 weeks of feeding her alfalfa pellets, Fred was standing next to her, rubbing her back.  He fixed a piece of cloth to a bamboo stick and would move it around her to get her used to things in her space. He made a small gated area and got her to go in there to eat her feed and handled her.  Then he put a stanchion on the end and worked with her to put her head through that.  After that, the halter went on.  Within a couple of weeks, Fred was holding her by the halter without much of a fuss.   My job was get the barn stalls ready for milking.  So once I removed all the junk, leveled out the floor and filled it in with mulch, Fred started milking.  We tied Momma to the ledge of the hay manger and voila’…milk!   She has had only one instance of kicking and we hope it stays that way.  We have done two rounds of artificial insemination on her, and hopefully this last one took and we will have a calf this fall/winter.

Clem was just as leery of us as Momma, maybe more. But once we got them in the barn area for the winter and a halter on her, she was much better.  Fred has been working with her on “whoa” (stop) and “giddup” (go) and is able to manage her very well. When Fred milks Momma, I go in the corral with Clem and rub all over her to get her used to being handled.

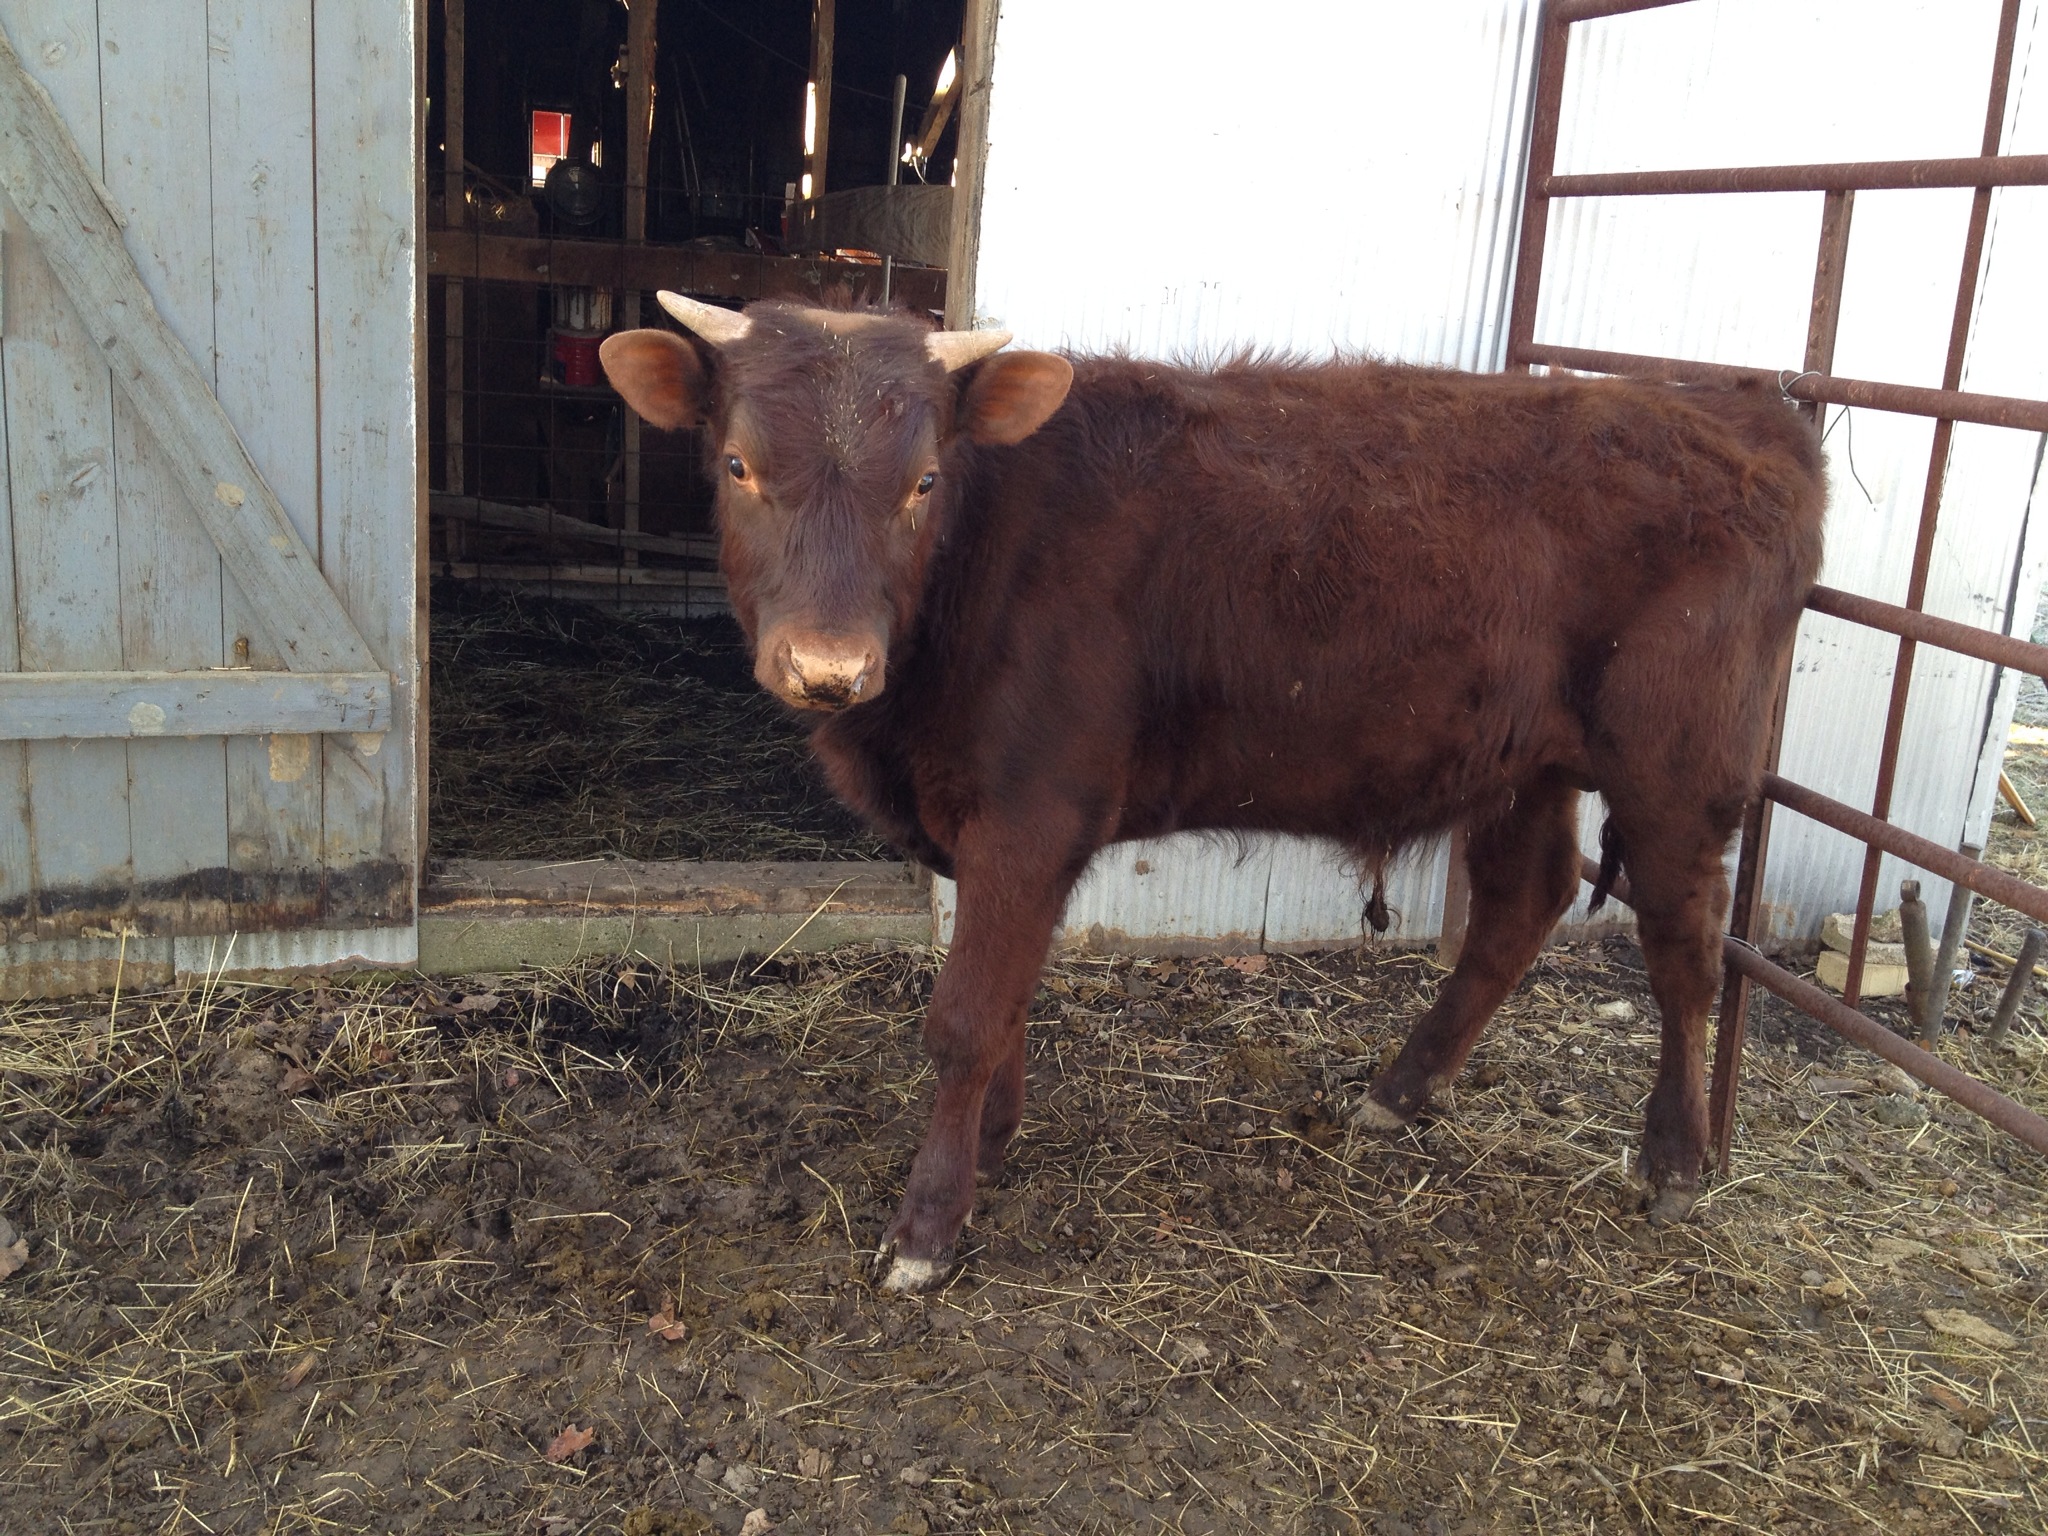
Greene Acres' Reddington.
Greene Acres’ Reddington.

This spring, we picked up our yearling bull, Redd, from outside of Springfield, MO.  I suggested names, but Fred took my mother’s suggestion to name him Redd.  Redd is a whole different story from the girls.  When we unloaded him, he walked right past Fred without as much as a skip in his step.  In the corral, you can stand at arm’s length with no problem. When he eats his alfalfa treats you can rub his neck.  Now, you don’t want a friendly bull, especially one with horns.  That cute eagerness for a scratch on the head turns into being pushed around by a half ton or more animal.  So the object is to have a bull that will respect us and follow some commands to make moving him easier. Soon he will have a halter and begin training.

Our goal right now is to continue to milk Momma and hopefully have a calf in the late fall/beginning of winter.  Once the new calf is born, we will bottle feed with Momma’s milk to start oxen training right away.  In the summer of 2015, Clem and Redd will both be ready for breeding and the herd will start to grow.

photo
Finally…MILK!


Filed Under: Our Animals Tagged With: Devons

Grow Your Own Sweet Potatoes and Fall in Love!

Posted on February 15, 2014 Written by Serena 2 Comments

sweet potsI love sweet potatoes. I mean LOVE them! Mashed, baked, as fries, pies, covered in horrible marshmallows…it doesn’t matter, I want them.

So when I decided to grow my own, I searched the internet for ideas and hints. I found nurseries that specialized in SP slips…you know those vines that come off a SP when you suspend it in a jar of water? They are expensive and shipping will kill you. So I made my own. I wanted ones that were not treated with anything, so on a trip into the city I found some organic SP. Once you have your SP, it’s simple:

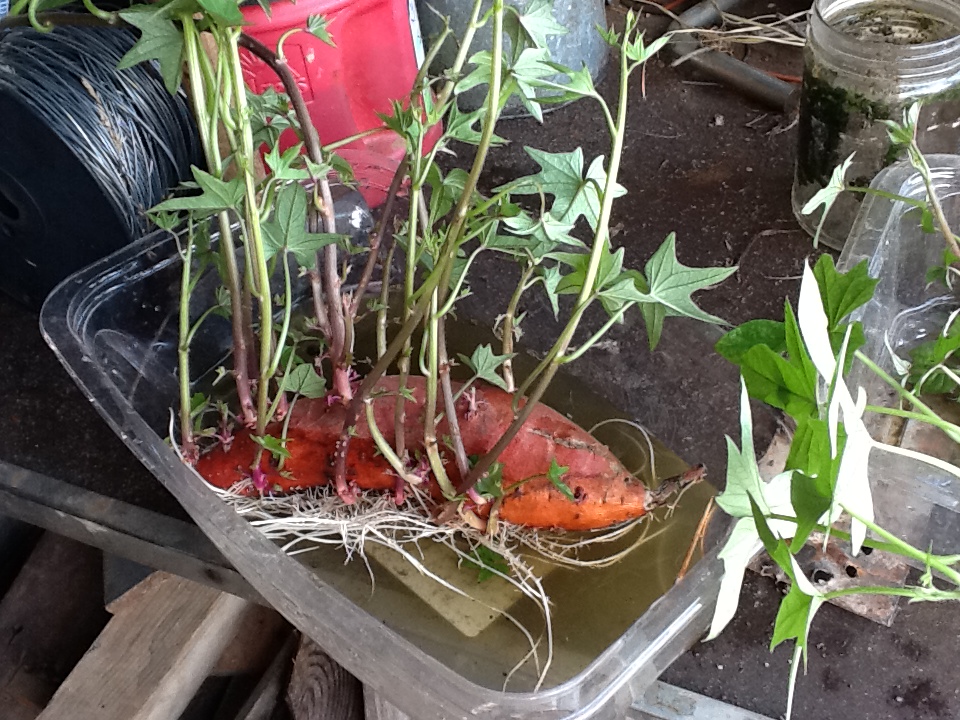
Half a sweet potato with lots of slips ready to be picked.

1–Cut your SP in half. In half lengthwise or widthwise doesn’t matter, you will just have to use different containers (read step two before you cut).

2–Stick some toothpicks in it so that the cut end will be submerged in a jar/container of water about half an inch. Make sure there is enough room around the rim of the jar for the SP to expand a bit…about 1/4 of an inch all the way around. You can also cut them in half lengthwise and place them in a shallow dish.

3–Wait for the vines to grow and maintain the water level. You can also add 1-2 tablespoons of compost to the jar for a nutrient boost.

4–Once the vines are at least 6 inches long, break them off as close to the SP as possible.

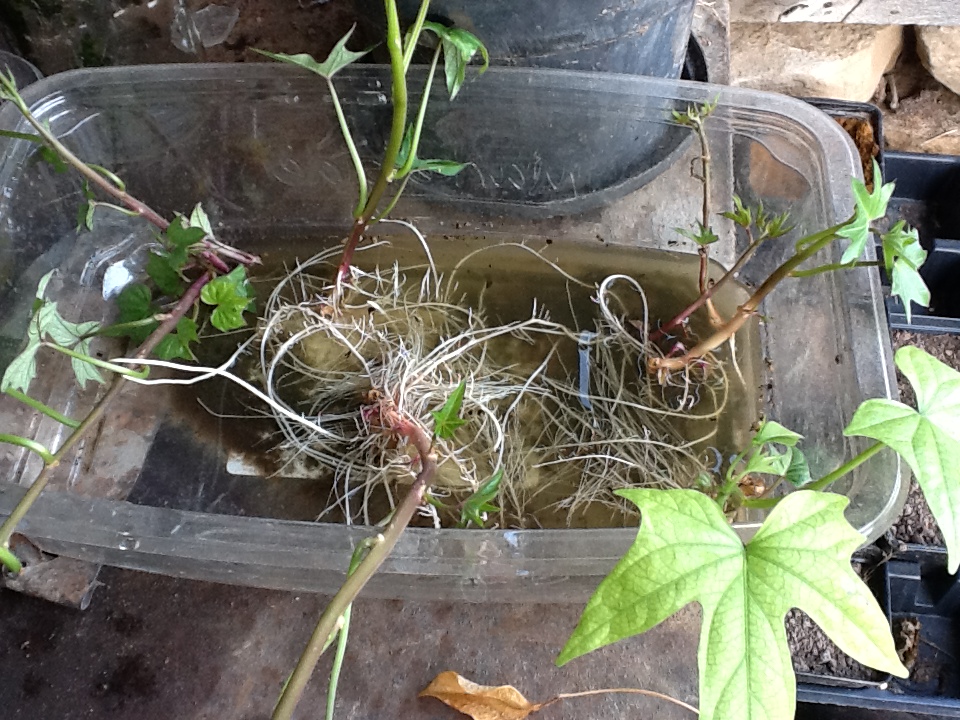
5–Place the vines in a shallow dish (a pie pan or plastic bakery container work well) and fill it with just enough water so the vines, not the leaves, are covered. You may have to add a weight like a rock or stick to hold them in the water. Make sure you space them out enough so that when it is time to remove them, the roots are not too tangled…approx. 4 inches apart.

Slips in water.
Slips in water.

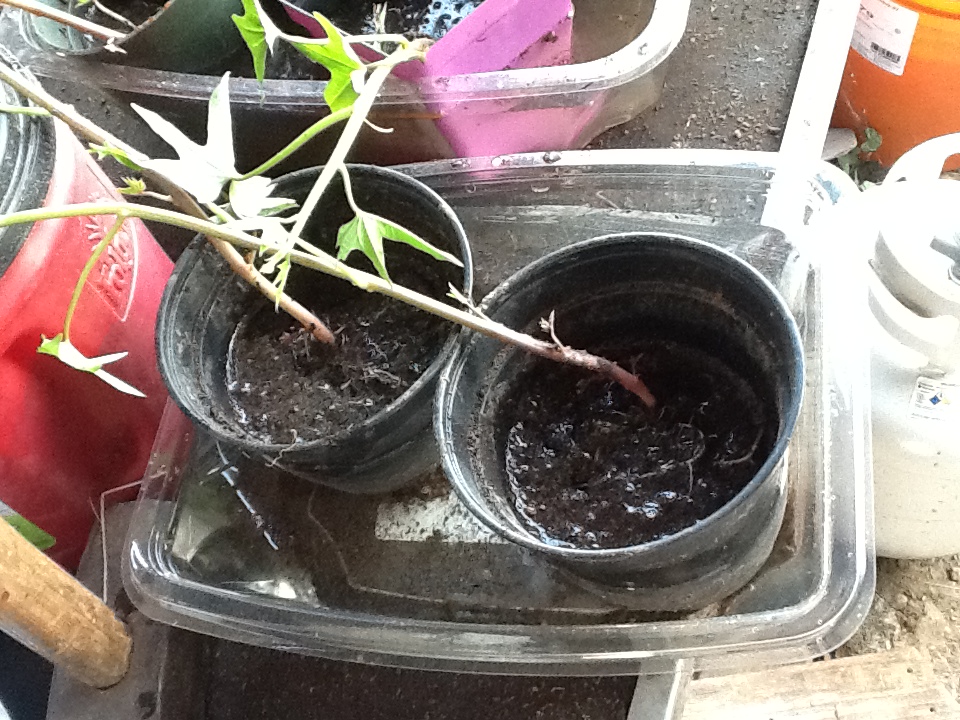
6–In a couple of days you should see roots start to form along the vine. Move to a pot and cover the roots with a little soil, maybe a tablespoon at a time. Keep doing this throughout the day until you have a mud consistency.

7–The next day, add a little more soil. Do not stir or disturb the roots.


8–The next day, add more soil. Add more water if it is too dry, but it should be like damp potting soil, not muddy.

Adding soil and awaiting transplant.

9–Leave the slips like this for at least 2 more days. This is how it becomes accustom to being in soil instead of water.

10–When you are ready to plant, remove the slip with as much soil as you can, and gently transplant. You can transplant into the ground once soil temp is 70º F.  The looser the soil the better, but I grew my first crop in clay soil with some added compost.  Like most root crops, the least resistance the better.  Unlike regular potatoes, which SP are not related to, there is no need to hill up over the growing plant.

It is important to remember that the tubers grow under the main stem. Any vines that touch the ground will try to send down roots to turn into SP. If allowed to do this, the ones under the main plant won’t produce well and you will find lots of pencil sized SP along the vines. You can either occasionally go out and lift the vines, put down some heavy-duty weed block (maybe some cardboard sheets), or grow them on a trellis or in a pot. A trellis isn’t have to be fancy…2 pallets secured together on end to form a triangle and in a few weeks you won’t even see it. If you share your living space with deer, rabbit, sheep, or goats, make sure your plants are protected…they will tip-off new growth or take it down to the ground. If this should happen, curse and cry, but don’t pull up the plant! Side dress with about 1/4 cup compost 6 inches from the roots and water well. I did this with my plants the deer ate to almost nothing and they came back within a week.

The best way to remember how your SP will grow is by the A-F grading system. SP like it hot!!! So if it is 90-100 degrees, they are growing at a grade A. So then, B=80-90, C=70-80, D=60-70, and F=below 60. You don’t want them in the ground until the soil is above 70 degrees. They can tolerate drought better than most, but they still need at least inches of rain to produce a good tuber. One gallon of water a week equals an inch of rainfall. What I do is cut the bottom off a milk jug and turn it spout down and bury it about 2-3 inches into the ground and put a rock in it to keep it in place (earlier in the season you can use this for a mini greenhouse for your tomatoes, too). When it is time to water, I fill that up, give or take a bit, and know it has what it needs.

SP are harvested before the first frost here in Missouri. They take 100 to 140 days from planting to mature. If you are in the South, you may want to keep track of your planting and harvest date.

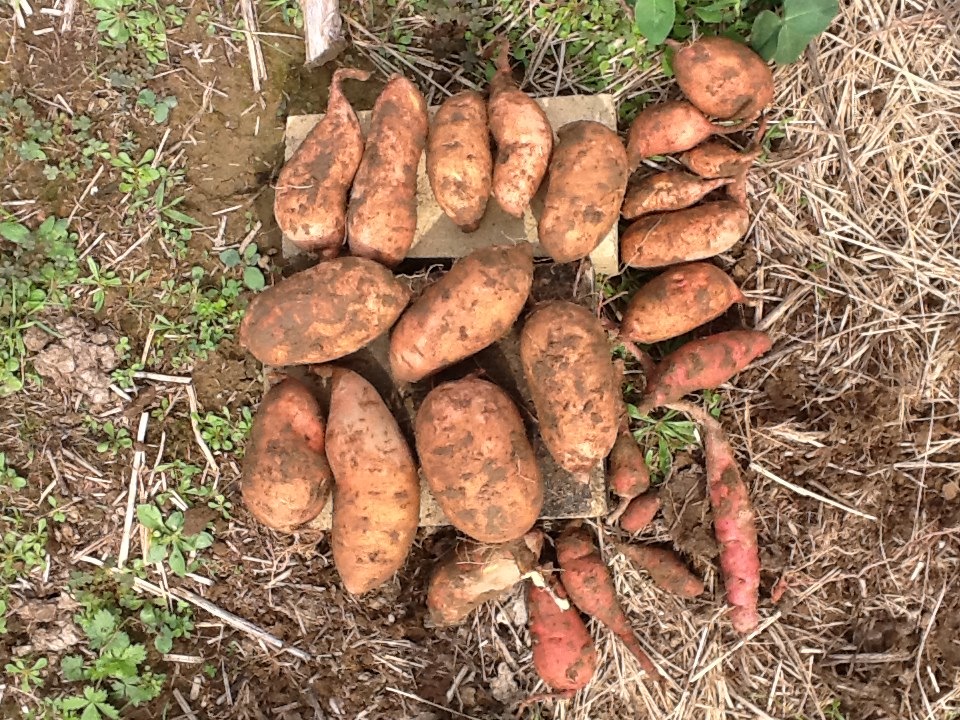
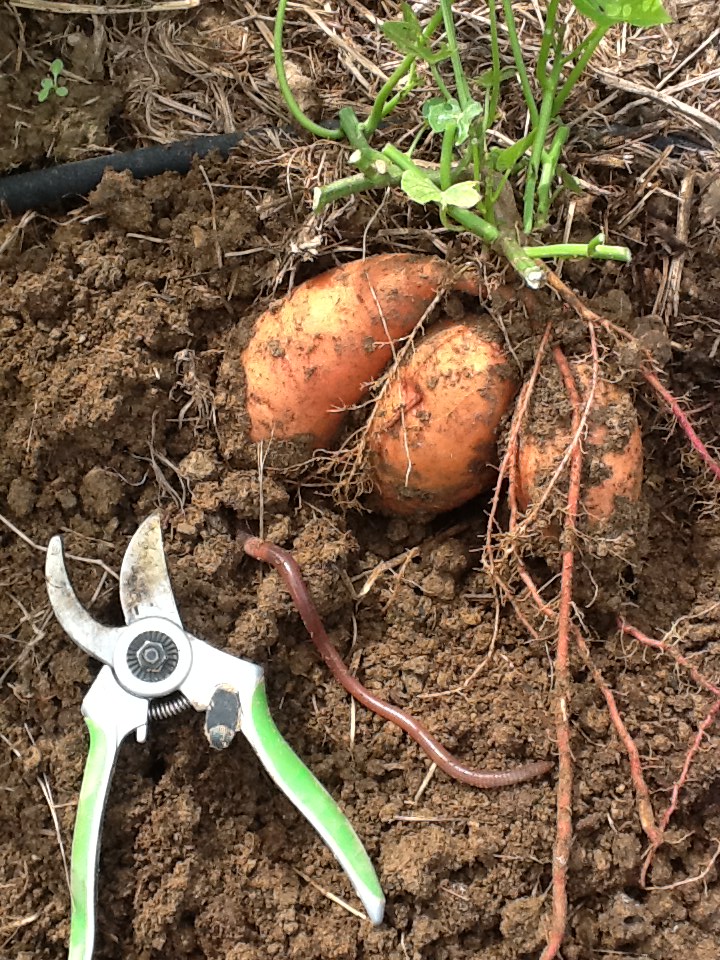
Nice harvest! (and a giant worm!)

Tubers are easily harvested by digging them up with a fork. Start about a foot away from where the SP are growing to be safe. Loosen the soil and move closer until you lift them up. Gently pull them up and separate them from the plant. At this point you can easily bruise or scratch the skin off, so LIGHTLY brush off the dirt and place them in a shady place outside for a few hours. When they are ready to come inside, again, lightly brush off the dirt and place them in a cool dark place for about 3 months. You want good air circulation around them so a single layer in a basket or wire rack works well. In this curing process, your SP are loosing moisture and condensing the sugars. Unlike most fruits and veg, a fresh picked SP is not what you what to eat. It must cure to become sweet. Three months is a long time to wait. But when you finally eat one, and realized what a sweet potato should taste like, you will fall in love. And then you will kick yourself for not growing more!


Filed Under: Our Garden Tagged With: garden

  • « Previous Page
  • 1
  • …
  • 12
  • 13
  • 14
  • 15
  • 16
  • …
  • 19
  • Next Page »

Welcome to Stuart Farm!

We’re Serena and Fred Stuart. While raising healthy and happy animals is our #1 goal, we’re also here to serve you! If you’re looking for help in navigating healthy eating and living, you are in the right place! We’re here to answer your questions and help you feed your family meat and eggs you can feel good about. We share farm stories that gives you a peek into our life, recipes to try, health tips, and more. We hope you enjoy coming along on our farm adventures.

Connect with us

  • View StuartFarmLLC’s profile on Facebook
  • View stuart_farm’s profile on Instagram

Contact Us

573-764-2324 please leave a message .
Farm hours are by appointment only.

Tags

Beef recipes broth chickens delivery Devons Dorkings Eggs Farm Life Freedom Rangers garden lard pigs Pyrs raw diet recipes recipes sweets Silver Fox Rabbits Sugaring

Categories

  • Blog Posts (73)
    • Farm Life (39)
    • Mother Nature (1)
    • Our Animals (24)
    • Our Garden (2)
    • Pigs (5)
    • Projects (1)
    • Recipes (16)

Recent

  • 2025-2026 Our Years of Transition
  • Our Farmstay Is Now Open!
  • The Best Way to Take Charge of Your Health
  • Love is…
  • My Summer Reading List

Archives

Copyright © 2026 · Focus Pro Theme on Genesis Framework · WordPress · Log in

Loading Comments...