Stuart Farm

  • Our Story
  • Shop
    • Our Store
    • Where to Buy
  • Come Enjoy a Farm Stay!
  • Our Classes
  • Fertrell Products
  • Contact Us
  • Blog Posts
    • Our Animals
    • Mother Nature
    • Our Garden
    • Recipes
    • Farm Life
    • Projects
  • Consultation Services
  • 0 items

The kitchen tools I can’t live without

Posted on December 15, 2021 Written by Serena Leave a Comment

I’ll admit it, I’m no Julia Childs. I have so many cookbooks and recipes torn out of magazines, but I stick with my handful of meals for the most part.  That’s what happens when your husband would happily eat tacos every. single. day. It’s hard to change it up.  When I do venture past tacos, I want the right tools for the job.

While some of these kitchen tools may not get used every day, they’re still my favorites!

Chainmail Pot Cleaner
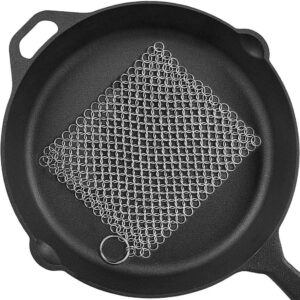
This was a gift from my sister, and by far one of the best gifts I’ve ever received. It’s perfect for cleaning cast-iron pans (no soap) and baked-on food.

You can buy scrubbers with a sponge inside the chainmail, but I like this one because it’s much easier to keep clean.

Small whisk

Before you roll your eyes and ask what’s the big deal about a whisk, hear me out. I’m talking about a s-m-a-l-l  whisk. One that fits inside a teacup small, not one that you need a gallon-sized bowl to use.

Small whisks are perfect for scrambled eggs, hot chocolate, or anytime you just need a little bit of something mixed up. I like this one because it fits just perfectly in your hand.


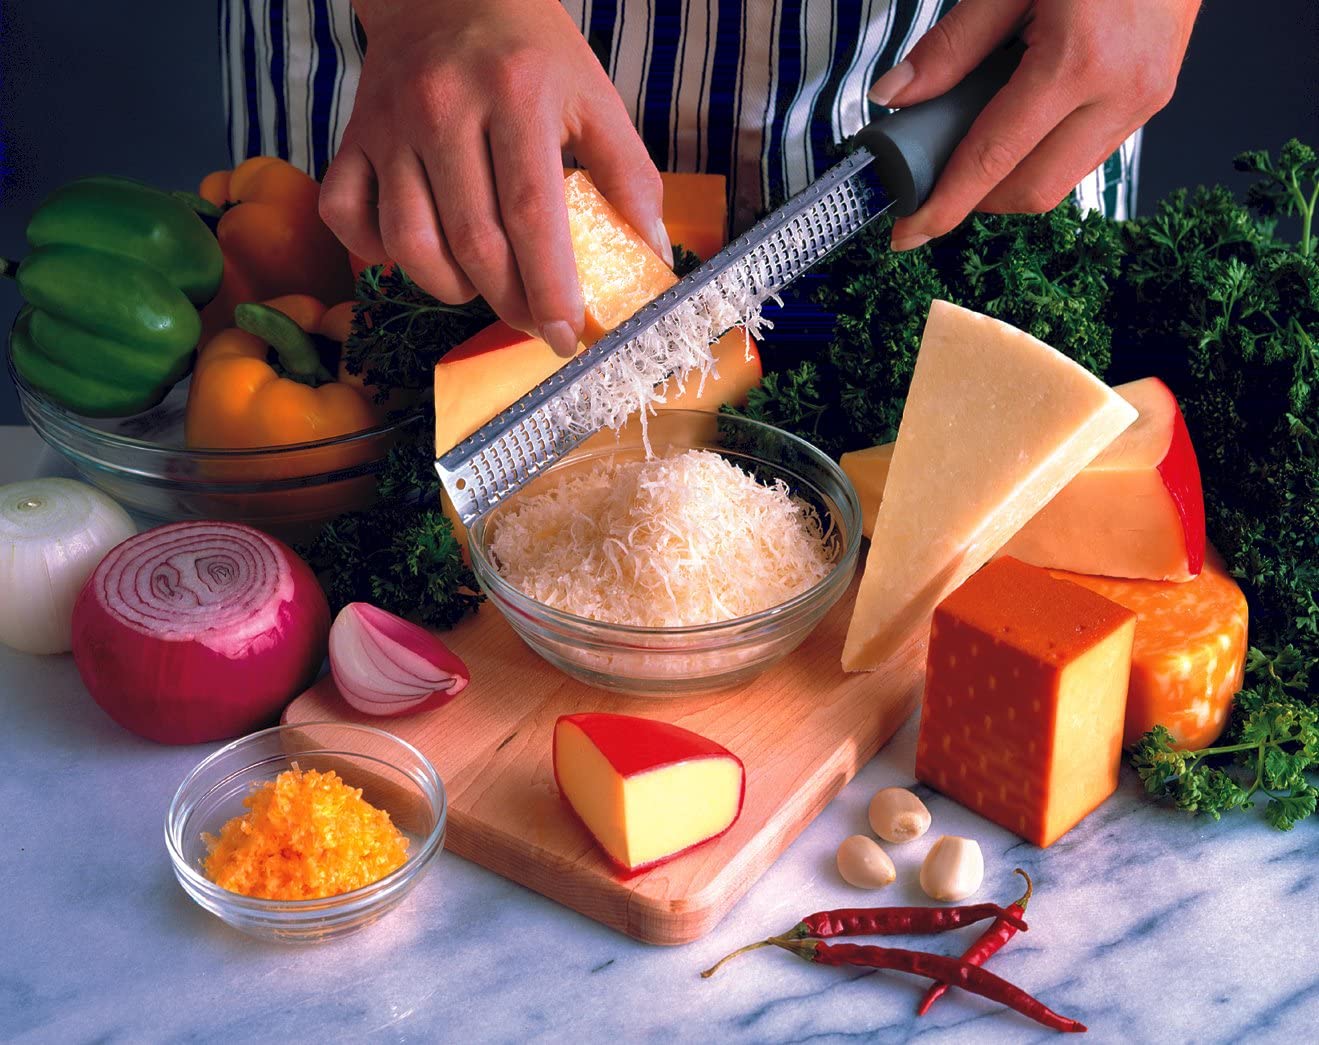
Rasp Grater (brand  name Microplane)

We have 2 rasp graters–one for nutmeg and one for everything else.

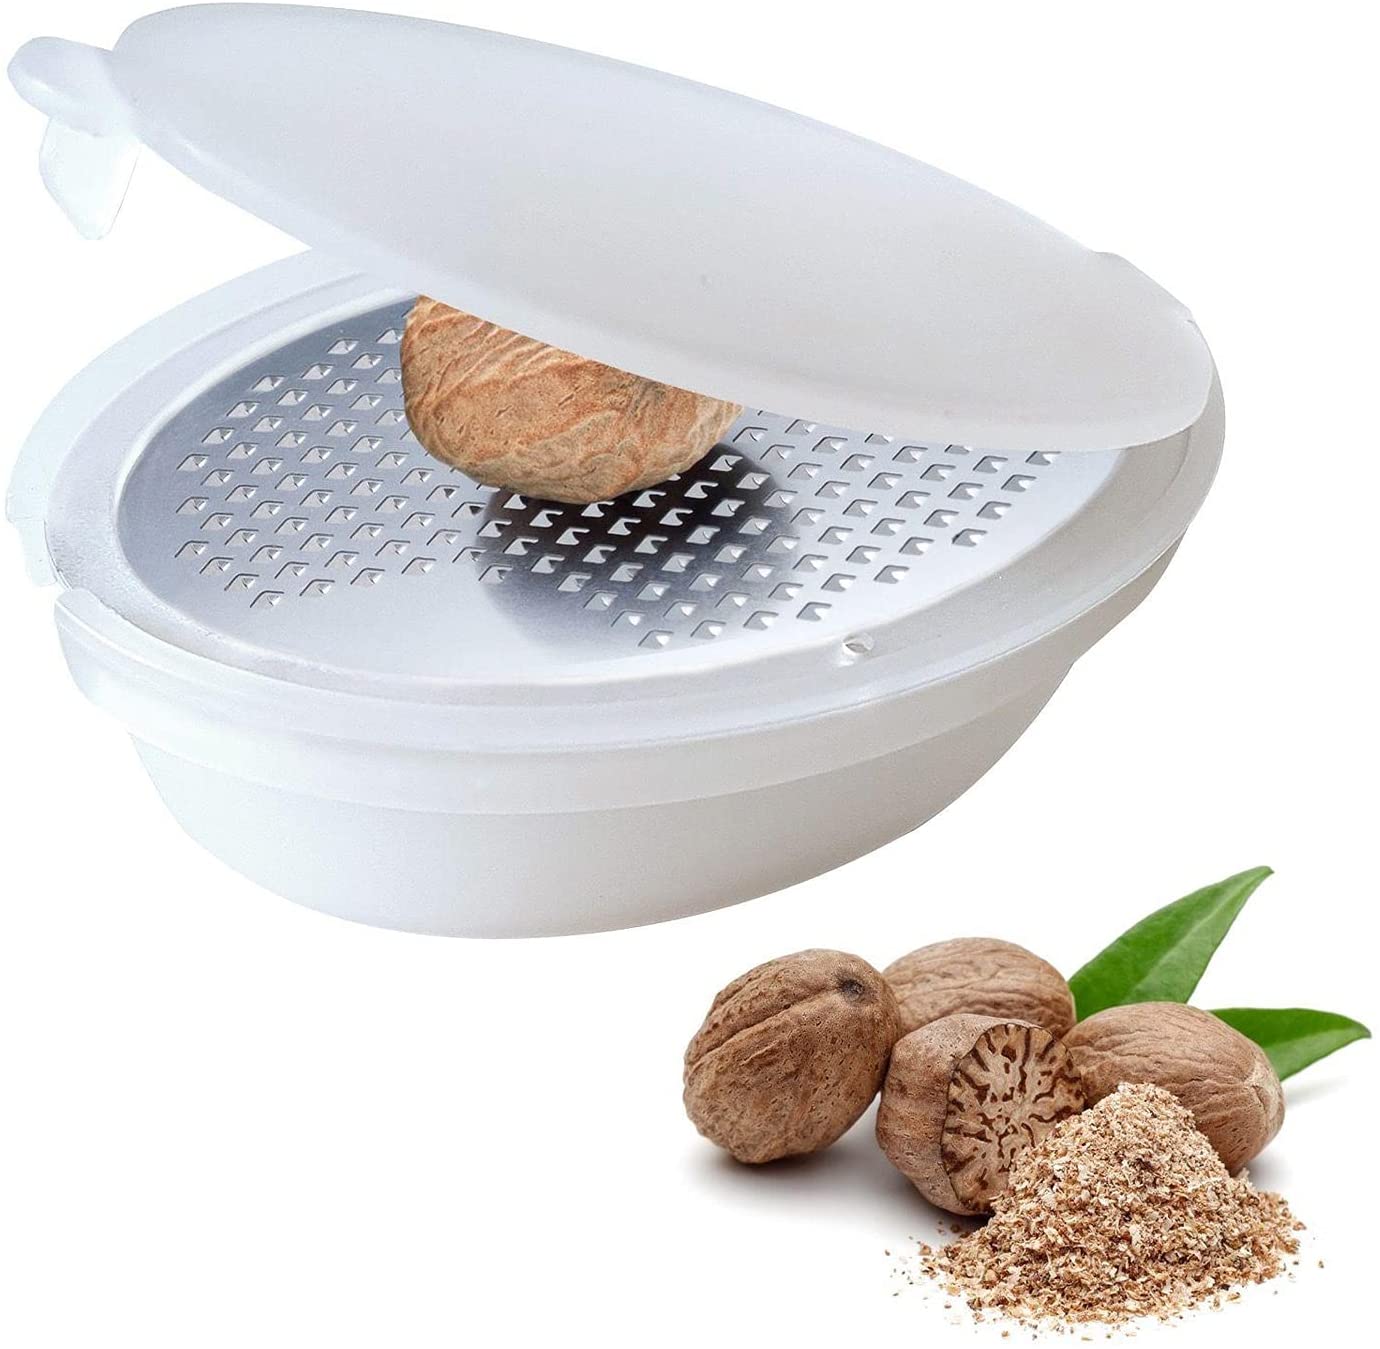
A self container nutmeg grater keeps the nut and the tool ready to go.  Fresh nutmeg is a must for any and all pork recipes. Buying whole nutmeg and grating as needed keeps the flavor strong and fresh.

The handheld rasp grater is for hard cheeses, zests, garlic, chocolate, and softening butter.
 

Ginger Grater
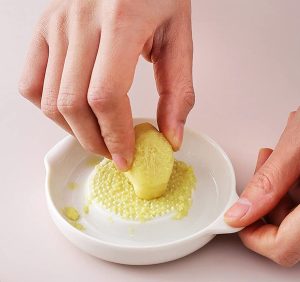
You can use a rasp grater for ginger, but it will dull it SUPER fast.  That’s why having a ginger grater is the way to go. Those little bumps magically grate the ginger perfectly. Pro-Tip: use a spoon to scrape off the skin of the ginger.  It comes off like a dream and no wasted ginger bits.


Danish Dough Whisk
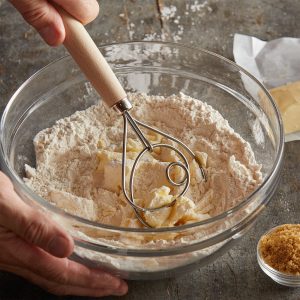
Another whisk? Yes! But this one is for making bread. Its special design allows for easy mixing without overmixing and moves through the ingredients without getting bogged down by them. No more scraping down spoons.

But you can use it for more than just bread–muffin, cake, pancake, and crêpe batters, polenta, grits, oatmeal, and other porridges, as well as folding in whipped egg whites or cream.


Instant Pot 8-quart Multi Cooker 

I loved my VitaClay Stock Pot, until it cracked.  I was rendering lard, and the cold fat against the warming clay, and C-R-A-C-K!  I knew if I replaced the insert, it would just happen again, so I switched to the Instant Pot.

My biggest complaint about the IP early on was the size–waaaaay too small. Then they came out with an 8 qt one, and I was sold!

I like that I can pressure cook something, then switch to slow cooker mode, and it will stay on warm for 10 hours after the programmed cook time.


Aluminum rimmed baking sheet
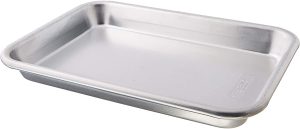
I don’t usually cook on aluminum, and when I do, I use a silicone mat, BUT, what I love these pans for is defrosting meat.

They are toaster oven size and perfect for a pack of steaks, ground beef, or even a roast. Just place the meat in the pan and place the pan on something so air will circulate under it. I use our gas range grates but you could use a cooling rack, bowl, or just on the counter works but will take a bit longer. Turn the meat every 30-60 minutes.

The aluminum pulls the cold out of the meat in no time, so don’t leave it like this while you are away at work all day.  A pound of our ground beef will defrost in a couple of hours.


Cast Iron Anything
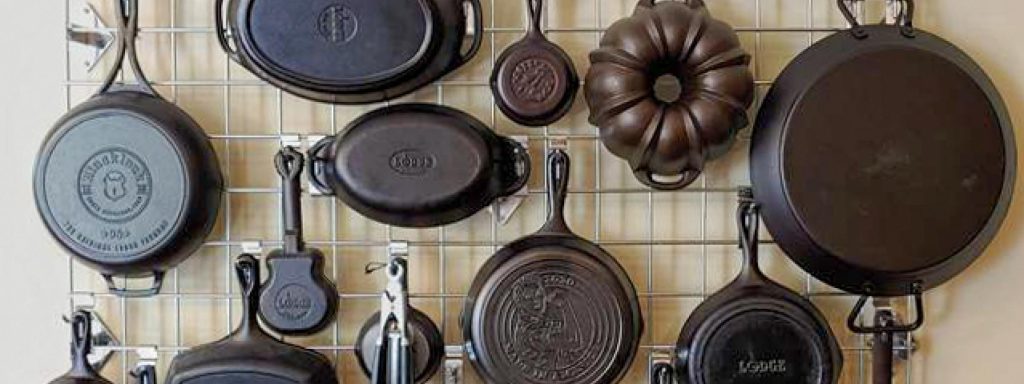
If you’ve asked me for a recipe, my answer will almost always involve using cast iron.  That’s because it is, in my opinion, THE best thing to cook with.

We have a wall full of cast iron pans, pots, griddles, and molds of all sizes. Very rarely will I use a stainless steel pan, but we do have a few of those as well.

If you’ve tried cast iron cooking before and never got the non-stick quality, here are some tips.

1 – Make sure it’s been seasoned well and properly. Click here for instructions.

2 – Use high heat. If the pan is not hot enough to start, it will stick. You can turn down the heat once you start cooking.

3 – USE FAT!!! I cannot stress this enough. Butter or lard is the best, and really lay it in there!

 

Do you have a favorite kitchen tool to share with me?  Let me know in the comments!

Filed Under: Recipes Tagged With: recipes

Oh My, Tomato Pie!

Posted on August 12, 2021 Written by Serena Leave a Comment

When I first heard of tomato pie, I was skeptical. Was it a dessert or a dinner?  Well, we have an abundance of tomatoes, so I decided to find out.
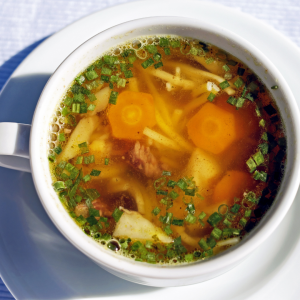
It did not disappoint!!!!

Not quite a quiche, not quite a tart, but all delicious!  Our tomatoes are so sweet right now, and mixed with our bacon, it was the perfect sweet-salty breakfast.

I used the Southern Living Heirloom Tomato Pie recipe with, of course, tweaks:  I added about 1 cup of shredded zucchini, subbed an onion for shallots, and used mozzarella cheese instead of cheddar.

Southern Living Heirloom Tomato Pie

3 pounds assorted medium to large heirloom tomatoes

1 teaspoon kosher salt, divided

6 thick-cut bacon slices, diced

2 large shallots, chopped (or 1 large onion)

2 garlic cloves, finely chopped (2 tsp.)

6 ounces aged extra-sharp white Cheddar cheese, grated (about 1 ½ cups) or mozzarella

½ cup mayonnaise (I’d use 1/3 cup)

1 cup shredded zucchini, with excess water squeezed out

½ cup chopped fresh basil

¼ cup thinly sliced fresh chives

1 tablespoon Dijon mustard (regular mustard is ok)

1 large egg

Fresh basil leaves

Minced fresh chives

1 pie crust (see notes below)

Step 1

Preheat oven to 400°F. Cut tomatoes into ½-inch-thick slices. Place about 7 or 8 slices (enough to cover top of pie) on a baking sheet lined with paper towels, and sprinkle with ¼ teaspoon of the salt. Cover with additional paper towels, and reserve.

Step 2

Arrange remaining tomatoes in a single layer on a lightly greased wire rack set on a large baking sheet. Sprinkle with ½ teaspoon of the salt. Bake in preheated oven until wilted and slightly dried out, 40 to 45 minutes. Cool completely, about 1 hour.

Step 3

Meanwhile, cook bacon in a skillet over medium-high until fat is beginning to render, 4 to 5 minutes. Add chopped shallots, and cook until bacon is crisp and shallots are caramelized 6 to 7 more minutes. Stir in garlic; cook until fragrant, about 1 minute. Using a slotted spoon, transfer bacon mixture to a plate lined with paper towels to drain. Cool 20 minutes.

Step 4

Stir together cheese, mayonnaise, zucchini, basil, chives, Dijon, and egg until combined. Sprinkle with pepper and remaining ¼ teaspoon salt. Fold in bacon mixture.

Step 5

Gently spread a third of the cheese mixture onto Parmesan-Buttermilk Crust; layer with half of the roasted tomato slices in a slightly overlapping pattern. Spread another third of the cheese mixture on top of tomato slices. Repeat with remaining roasted tomato slices and cheese mixture. Top with reserved sliced fresh tomatoes, pressing filling gently into crust. Shield edges of pie with aluminum foil.

Step 6

Bake in preheated oven until filling is set, 40 to 45 minutes. Transfer to a wire rack, and let stand 1 hour before serving. Sprinkle with basil and chives.

Notes

Store-bought crust is fine.  But if you want an easy homemade crust you DO NOT need to roll out, try this one.

I will definitely make this again before tomato season is over and add more zucchini, onion, and garlic.

Did you try this recipe? Let me know in the comments how you liked it.

Filed Under: Recipes Tagged With: recipes

How to make THE best bone broth!

Posted on October 25, 2020 Written by Serena 1 Comment

The first time I made bone broth, I ended up throwing it out. After it cooled, it was like gelatin and I thought I ruined it. Oops! Little did I know, the best broth has a solid gel.

Since then, I’ve had different levels of gel in my broth and I’ve finally figured out how to always get the perfect gel.

I’ve helped a few people perfect their broth, so I wanted to share some tips and the one ingredient that will boost the gel factor.

I’m sure you’ve heard that bone broth is a superfood, right?   Pound for pound, or cup for cup as it were, bone broth is a nutritious and versatile food you want to keep on hand.

Bone broth is a great source of gelatin protein aka broken down collagen (about 10 grams per 8 oz cup), glucosamine and chondroitin (joint health support), niacin, riboflavin, glycine, and proline. Despite popular belief, you don’t get a lot of minerals from bone broth, but that’s ok. It’s a super nutritious food that can help with gut health, healthy skin, and joint health to name a few.

Plus you can use it for more than just soup.  It’s a great sauce base or try cooking rice or quinoa in it.

While you’re sipping on your broth, don’t forget your pets! Bone broth can help them in the same ways it helps you. Since our dogs are large breeds and prone to hip issues, they get bone broth regularly. I feed it cold so it’s gelled and less messy. I have another pet treat tip at the end.

“Regular” Bone Broth

When I cook any bone-in cut, I almost always save the bone (either raw or cooked) in a Ziploc bag in the freezer.  Chicken, pork, beef, shrimp shells, doesn’t matter, it all goes in the bag. Once I have a full bag, I make a pot of broth.

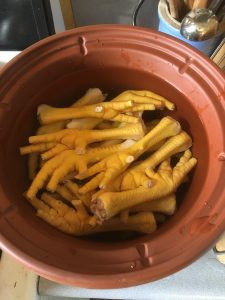
BUT, when I want THE best broth, I use–feet!

Why feet? Because all the collagen containing connective tissue breaks down to create a super gel that bones alone don’t quite have. And that’s what you want–a good strong gel.

24 feet in my new VitaClay crockpot.

Chicken Feet

I just made a pot of all chicken feet broth and oh man, was that some serious gel!  Even adding 4-6 feet to your regular broth will help increase the gel. I was reading up on it and one source said using all feet has more body than regular chicken broth. I wasn’t really sure what that meant until I tasted it. It was thicker than regular broth, more like a sauce.

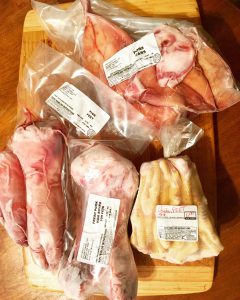
For an all feet broth, you can either just put them as is in the pot and cover with water, or you can blanch them and remove the skin. The packs of feet we sell already have the nails removed, so no worry there.

To peel the skin: scald the feet in boiling water for 20-30 seconds. Don’t boil too long or the skin will stick to the muscle. Dump them in a pan of ice-cold water. Peel. They peel best when still warm, so only do as many as you can keep warm while peeling; ~ 4-5 at a time.

Pig Feet

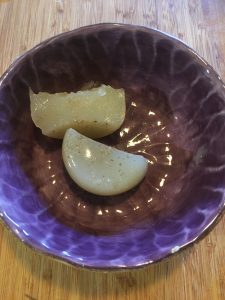
The first time I made pig feet broth I was amazed by the gel.  Like chicken feet broth, it’s solid after cooled. I mean S-O-L-I-D. You can run a knife around the jar and ease it out in one piece like canned cranberry sauce at Thanksgiving. PLOP!

Prep for pig feet broth is a bit different than chicken. Of course, you can just put them in a pot and cover with water, or you can roast them first. Roasting is said to make the flavor deeper. I’ve only ever made it after roasting, so not sure what the other way tastes like.

Pig feet broth is very different from chicken or beef broth in one way–taste.  I don’t drink straight pork broth as I do with chicken or beef.  It just isn’t that tasty to me.  BUT, it’s the absolute best in any sauce or soup! It’s like something magical happens when you put something else in it. I save all my pork broth for sauce or soup bases.

Feet, Bones, Ears

Cooking Bone Broth

Add feet and/or bones to a crockpot with 1 Tablespoon of vinegar and cover with cold water.  TIP: You want the bones just covered. If the bones/feet are a frozen mass, fill with water halfway, heat on high for 1 hour, and wait until you can break them apart to top it off. Cook on low.

There’s no hard and fast rule about cook time, anywhere between 6-18 hours is good.  TIP: try not to cook over 24 hours. If you cook too long, the collagen will break down too much and the broth won’t gel. If any “scum” forms on top, skim it off.

If your crockpot has a warm setting, after 4-6 hours on low, you can switch it to warm overnight.  That should keep it at 160F which is out of the food safety danger zone.  TIP: cooking at too high of heat also breaks down the collagen and ruins the gel. 

Since this is a base broth, I don’t add any veggies or herbs. You can, but I find it easier to strain the broth as is and add in later when I want to use it.

When your broth is ready, strain through a mesh sieve or cheesecloth into jars/containers and set solids aside. Chill in an ice bath until cooled down and place in the fridge for 12 hours.

TIP: leave the fat on top. 1–it’s a healthy fat that’s good for you and 2–it helps seal the broth and keep it fresher in the fridge and safe from freezer burn in the freezer.

It will last a week in the fridge or 6 months in the freezer.

SOLID Gel!

TIP: freeze with at least 2″ headspace for expansion.  If you freeze in glass, put the jar in a bowl and defrost overnight in the fridge. Check for cracks before using.

Now you have a big bowl of bones.  What do you do with that? Depending on what you used, there’s still plenty of meat leftover. Once everything cools enough to handle, pick out the meat.  This is perfect to either add back into the broth or use in tacos.

You can set aside any of the fat, skin, or other “undesirable” soft parts and feed it to your dog or cat as a treat. Just MAKE SURE there are no cook bones in it.  If the ends of the bigger bones disintegrate with mild pressure between your fingers into a meal like feel, you can feed that as well.  This also opens up the shaft of the bone so you can dig out the marrow if you like.

That’s it! Now you have a health boost in a jar. At the first sign of feeling a bit under the weather or stressed more than usual, warm up a cup or two and enjoy.

Ready to start making your own broth?

Click to buy chicken feet, pig feet, or other cuts.

If you need more help or have questions, click here to email me!


Filed Under: Farm Life, Recipes Tagged With: broth, recipes

The Terroir of Meat

Posted on July 23, 2020 Written by Serena 2 Comments

If you know wine, you’ve probably heard the term terroir.

Terroir: /terˈwär/
noun: terroir

  1. the complete natural environment in which a particular wine is produced, including factors such as the soil, topography, and climate.
    • the characteristic taste and flavor imparted to a wine by the environment in which it is produced.

I was recently listening to Bread, Wine, Chocolate: The Slow Loss of Foods We Love by Simran Sethi and she wrote about terroir not just in wine but in chocolate, wheat, coffee, and beer.

So I started thinking about the conversations I’ve had with customers.

One woman said she like our beef better than another farm’s, even though we have the same practices, had cattle from the same herd, and lived only 20 miles apart.

People say our eggs are the best they’ve ever eaten, even though eggs they buy from other farms have the same practices as us.

So I started wondering…could it be terroir?

Yes, it is!

The main reason our meat tastes different from store-bought is that store-bought is all raised the same way. Year after year, raised in the same conditions, fed the exact same thing, butchered at the exact same age. Quality is not left to chance; it’s all about consistency.

On our farm, Mother Nature has a hand in what our meat and eggs taste like.  What grasses, forbs, brush, and “weeds” grow well this year.  Will there be an explosion of crickets or, if we’re really lucky, cicadas this year? Will a momma put on plenty of milk giving the baby a growth advantage? Did the oak, hickory, and walnut trees produce nuts well for the pigs? Did a mild winter mean less weight loss?  Did rains push more earthworms to the surface to feed the chickens and pigs?

It’s not just the environment that factors into our meat quality. When we butcher an animal, their age has a lot to do with the end product.

You’ll hear people say that a younger animal is more tender, not tough like an old breeder cow or sow.  What I talked about in this post, debunks that myth.

If what an animal eats gives its meat flavor, then the older the animal, the longer they eat, and more flavor they can develop.

Often, with customers new to eating heritage breeds, I’ll suggest they buy something from a variety of farmers to find what they like.  I tell them to find out where the farm is, the breed of animal, target age of butchering, feed type, and raising practices.  A Tamworth hog raised on pasture will taste different from one raised in a pen and a beef butchered after eating spring grass for two months will be very different than a beef months into a drought.

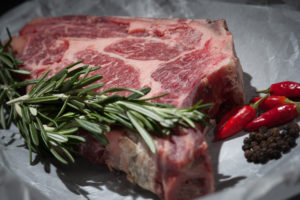
I’ve had customers say grass-fed beef is “too strong”.  What they’re tasting is actual beef flavor that store-bought just doesn’t have anymore.  I have a hard time putting anything but salt and pepper on our beef so the flavor isn’t covered up.  People joke that tofu tastes like whatever sauce you put on it. I feel the same way about store-bought meat and eggs.

So the next time you bite into that steak, chop, drumstick, or egg, know that what you are tasting is more than meat. It’s our farm, our practices, our breeds, our love.

It’s terroir.

Filed Under: Farm Life, Recipes Tagged With: recipes

  • 1
  • 2
  • 3
  • Next Page »

Welcome to Stuart Farm!

We’re Serena and Fred Stuart. While raising healthy and happy animals is our #1 goal, we’re also here to serve you! If you’re looking for help in navigating healthy eating and living, you are in the right place! We’re here to answer your questions and help you feed your family meat and eggs you can feel good about. We share farm stories that gives you a peek into our life, recipes to try, health tips, and more. We hope you enjoy coming along on our farm adventures.

Connect with us

  • View StuartFarmLLC’s profile on Facebook
  • View stuart_farm’s profile on Instagram

Contact Us

573-764-2324 please leave a message .
Farm hours are by appointment only.

Tags

Beef recipes broth chickens delivery Devons Dorkings Eggs Farm Life Freedom Rangers garden lard pigs Pyrs raw diet recipes recipes sweets Silver Fox Rabbits Sugaring

Categories

  • Blog Posts (73)
    • Farm Life (39)
    • Mother Nature (1)
    • Our Animals (24)
    • Our Garden (2)
    • Pigs (5)
    • Projects (1)
    • Recipes (16)

Recent

  • 2025-2026 Our Years of Transition
  • Our Farmstay Is Now Open!
  • The Best Way to Take Charge of Your Health
  • Love is…
  • My Summer Reading List

Archives

Copyright © 2026 · Focus Pro Theme on Genesis Framework · WordPress · Log in

Loading Comments...