Stuart Farm

  • Our Story
  • Shop
    • Our Store
    • Where to Buy
  • Come Enjoy a Farm Stay!
  • Our Classes
  • Fertrell Products
  • Contact Us
  • Blog Posts
    • Our Animals
    • Mother Nature
    • Our Garden
    • Recipes
    • Farm Life
    • Projects
  • Consultation Services
  • 0 items

Older Beef = the BEST Beef (Seriously!)

Posted on July 19, 2019 Written by Serena 14 Comments

You’ve been lied to. Tricked! Fooled! Bamboozled!

Ok, maybe just really misled. But no more!

We’ve been told by so many people, and a lot of advertisers, what makes good beef, that the old wisdom of raising cattle has been forgotten. And now, shunned.

Misconception #1

Younger beef is tender because it hasn’t had time to “toughen up”.

NOT TRUE!

Beef is tender for two reasons: the amount of marbling within the muscle and how much that muscle was used.

When beef is grain-fed, the age doesn’t matter because the grain adds the extra fat creating marbling.

When beef is completely grass-fed and grass-finished, it takes longer to create that marbling, but it does happen.

Some cuts will always be more tender than others. After all, some muscles get more of a workout than others. Filets are hardly worked and rump roasts help the animal move around–a lot of work. So of course one will be more tender than the other.

Just because one cuts is “tougher” doesn’t mean it isn’t good, you just have to know how to prepare it. I’ve been thin-slicing roasts and marinading them overnight for amazing tacos and stir-fry.

Misconception #2

Old cows are only good for ground beef. 

So, so, so UNTRUE!

I know this one first hand. Remember Queen, the cow we lost this past winter? We had her butchered on-farm and she produced the best beef we’ve ever eaten.

Every steak was almost too tender. The ground beef was so flavorful I hated adding seasoning.

Then I found this video that compares a young steer (28 months which is older than the usual 18 month-old steers found in the store) with older cows (8 and 15 years old) Spoiler alert: The oldest cow was the best! Click here to watch the video.

So why do sooooo many people think this? I think it’s just lost knowledge.

I hear so many of our older customers say our meat tastes like what they grew eating.  The flavor, the texture, the color–it’s old school.  That’s because our beef is raised like it used to be–on grass, always outside, room to roam, and butchered older.

Add to that a huge marketing campaign to convince everyone that younger beef is better, and it’s no wonder small farmers are convinced it’s not worth the gas to the butcher to process an old cow.

Misconception #3

Older beef has a strong flavor.
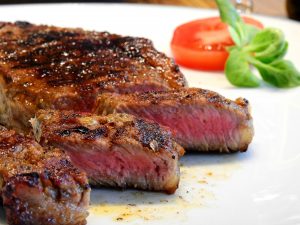
Yes! It’s called BEEF FLAVOR!!!!!

The older the beef gets, the more flavor it develops. Do you squish grapes, put it in a glass, and call it wine? No!

Beef develops, creates, becomes flavor.

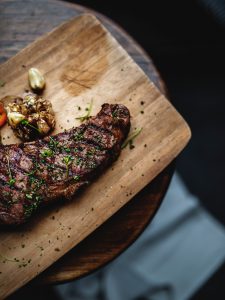
So many of us have forgotten what REAL beef tastes like. You don’t have to dress it up and slather it in sauce–the flavor does the work. The only thing I put on our steaks or burgers is salt. If it’s quality beef, that’s all you need.

It’s not just age that affects flavor. The breed, feed, and time of year butchered have an effect as well.

Every breed has different growth rates and flavor profiles. When someone is new to grass-fed/finished beef, I tell them to shop around and find a breed they like.

You are what you eat, goes for cattle as well. Even in the same county, pastures are different, so the beef will taste different.

With grass-fed/finished beef, time of year the beef is butchered not only affects the flavor but the marbling. Two months after the spring grass flush is prime time for butchering.  They’ve put on lots of good fat marbling from the lush grass.  Two months into winter hay feeding, they may start to lose some of that marbling and flavor.

So what does all of this mean for you as a consumer?

Don’t believe the hype. Young “tender” beef (15-18 mths old) fattened and/or finished on grain was a marketing campaign to get cattle to the butcher quicker, not to get you quality beef.

Talk to your farmer about what breeds they raise, age of butcher, time of year they’re butchered, and what they eat.

Also, make sure to ask how they are finished and supplemented; 30+ days grain finish (even organic grain) negates the benefits of grass-fed beef. Grass-fed/finished beef contains up to five times as much omega-3, about twice as much Conjugated linoleic acid (CLA), and much less monounsaturated fat than grain-fed beef. Who wants to lose that!?

New to grass-fed/finished beef and have questions? Ask away in the comments!

Filed Under: Farm Life, Recipes Tagged With: Beef recipes

Loaded Baked Potato Casserole

Posted on April 30, 2019 Written by Serena 2 Comments

I came across this looking for leftover ham recipes after Easter. I pretty much followed the recipe but made a few adjustments.

What I figured out after we devoured this is you can really wing it with the ingredients.  You can substitute any veggie and any meat.  The ham was really good because of the creamy sauce, but I think ground beef or pork or chopped chicken would be just as good.

It’s a great way to use up the last bit of veg and meat you have in the fridge.

Loaded Baked Potato Casserole

(Original recipe from Taste of Home)

Depending on the number of people to feed or the quantity of leftovers you would like, adjust the amounts.

  • 2 pounds potatoes, thinly sliced (about 6 cups)
  • 1 large onion, halved and thinly sliced
  • 4 Tablespoon butter, cubed
  • 2 Tablespoon all-purpose flour
  • 1 teaspoon salt
  • 1 teaspoon ground mustard
  • 1/2 teaspoon pepper
  • 1 teaspoon paprika
  • 1 cup whole milk
  • 1+ cup shredded cheese of choice (I used cheddar and Swiss)

All or some of the following:

  • cubed fully cooked ham, browned ground beef or pork, diced cooked chicken
  • small broccoli florets
  • sliced mushrooms
  • zucchini, sliced thinly
  • bell peppers, diced
  • any veg you like!

Butter pan and arrange 2 layers of potatoes on the bottom and up the sides.

In a saucepan, over low heat, melt butter, add in spices, stir until fragrant.

Add flour into butter/spice mixture, turn to medium heat, and stir until combined. Add in milk and whisk to smooth. Remove from heat

Layer meat, veg, cheese, potatoes; add one-quarter of the sauce.  Continue laying this way until pan is not quite full.  You don’t want it to bubble over while cooking. Add any remaining sauce and cheese on the top.

Bake in 350F oven for 45 minutes.  Allow to cool for 10 minutes before serving.

I think this would freeze well after assembly. I would add additional cook time if frozen.

If you try it, let me know how you like it and any changes you made.

Filed Under: Farm Life, Recipes Tagged With: recipes

4 Spices to Make You a Better Cook Right Now

Posted on March 29, 2019 Written by Serena Leave a Comment

Whether you cook everything from scratch or not, sometimes your old standbys need a little pick-me-up.
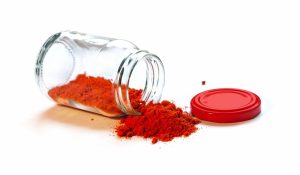
Here are four spices I use regularly to take a meal from good to WOW! with just a few shakes of the jar.

Paprika

The first thing that comes to mind when I say paprika is…deviled eggs.  Well, I am here to tell ya, it’s so much more than a color splash for your picnic.  It’s a flavor splash!

But don’t confuse paprika with chili powder or chile powder.  Paprika is an ingredient in chili powder. Chile powder is ground up cayenne, chipotle, or ancho peppers.  Not bad, but very different from chili powder and paprika in flavor and heat.

If chili powder has paprika in it, why not use that? Well, you can. But if you’re like me, you like a bit more control of the flavors in your dish.  Chili powder–paprika, oregano, garlic powder, cumin, and sometimes cayenne–is great, but sometimes I just want the pure earthy spice paprika gives.

To get the most out of it, quickly dry toast it on low in a cast iron pan, remove from heat, add oil (or lard), and stir. Overcooked it becomes bitter. The smell is wonderful and reminds me of my grandmother’s cooking. She toasted and oiled her spices before using them.

Ideally, grow your own paprika peppers, roast or smoke, dry, and grind. I don’t have the words to describe the taste, much less the smell of this. BUT I am sure, like me, you rarely have that kind of ideal, so buying the best paprika you can is totally worth it. Each variety–smoked, Hungarian, and Spanish–have a different flavor, so try them all.

So how do you use paprika? In everything!  Stews. Roasted pork or chicken. Meatloaf. Eggs. Casseroles. Chili. BBQ sauce. Marinades. Brownies. And yes, on those deviled eggs.

Cumin

How many ways can I say I love cumin? It’s the spice that overwhelms me with memories when I use it. As I said, my grandmother toasted spices before using them and cumin was used a lot.

Cumin has an earthy, nutty, slightly spicy flavor.  If you want to give your dish a Mexican, Indian, or Middle Eastern flare, add a dash of ground cumin.

How to use cumin?  By far my favorite use is in sautéed squash.  Yellow squash, zucchini, any summer squash is fine. Thinly slice the squash along with onions and add it to the toasted and oiled cumin, salt and pepper to taste, cook until just tender.  For a medium-sized squash, start with 1/4 teaspoon of cumin.

I add it to beans, rice/quinoa, taco meat, soups, sautéed veggies, chili, meat rubs. Once you know the flavor, you will start adding it to lots of things.  Cumin Shortbread? YES!

Dry Mustard

This one is a recent discovery for me.  I don’t remember what I was cooking, but it called for dry mustard, so I reluctantly bought some thinking it would last my lifetime for sure.  Now, I go through a jar every few months.

Dry mustard has a nutty somewhat spicy flavor. It can give a dish a bit of a kick that isn’t long lasting. Something about it seems to bring out the flavor.

I add dry mustard to any Asian inspired dish, sauces, stews, egg salad, roasts, chili, burgers, salad dressings, and mac & cheese. If you aren’t a fan of vinegary mustards, add dry mustard to your mayo for the “kick”.

Nutmeg

Oh, the spice we’ve relegated to Christmas use only!  Such a shame! Yes, nutmeg is wonderful in all the holiday treats, but it’s so much more than eggnog topping.

Nutmeg is the chameleon of spices. Sweet, savory, hearty, light. Nutmeg bends to and enhances the ingredients. Bland soup–add nutmeg. Pork burgers missing something–add nutmeg.  Baked goodies need a pop–add nutmeg. Tired of boring coffee–you know what to do.

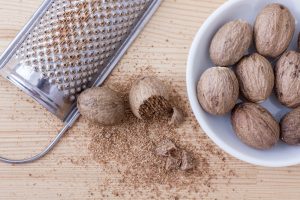
But nutmeg that’s been sitting in your cabinet for years–don’t use that. Don’t even buy the highest quality ground nutmeg you can find. You want whole nutmeg.  Nutmeg is a seed that should be freshly grated to really get the most out of it.  That does mean you’ll need to dish out about $10 for a decent Microplane, but it’s worth it once you taste freshly grated nutmeg! And a jar of whole nutmeg will stay fresh and potent for years, unlike the ground stuff.

A little nutmeg goes a long way, so use it sparingly until you figure out your taste preference. Then go nuts! Fruit salad. Pork burgers. Stews. Roasted meats. Soups. Pasta. Sweet potatoes. Egg and milk based dishes like custards, béchamel, and cheese sauces. And of course, sweets!

BONUS: cardamom and Cocoa

Cardamom

When I was drinking coffee I started adding a dash of ground cardamom to it.  I read it helps to reduce the acidity of the coffee, making it easier on your digestive system. That’s all well and good, but I just like how it tastes! It has a bit of a sweet, floral, yet spicy flavor.  Like nutmeg, it can be used in sweet or savory dishes imparting a warmness to the dish. Use it sparingly to start; too much cardamom will ruin a dish or cup of coffee.

Cocoa

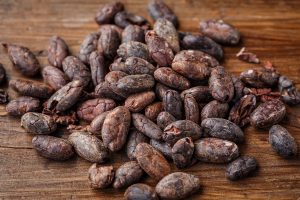
Not a spice? Think again! Cocoa powder is made from the seed (bean) of the cacao tree pods.

Fun Fact: the flesh covering the seed has a lemon flavor. I tried it when I was in the South Pacific.

Cacao Beans
Raw Cacao Pod

So while it’s delicious in your cake, it’s just as good in your chili, BBQ sauce, and meat rubs. My pot of chili always gets a tablespoon of cocoa powder.  The Aztecs/Mayans/Mexicans regularly combined cocoa with peppers in their cooking. Mexican Hot chocolate anyone? How about some Molé?

What’s your favorite go-to spice that makes a meal a masterpiece?

Share in the comments!

Filed Under: Blog Posts, Recipes Tagged With: recipes

The Best Chicken Pot Pie

Posted on December 15, 2017 Written by Serena Leave a Comment


potpie

Winter is finally here!  The wood stove is going all day and night, we bundle up to do our chores, and I get to make comfort foods that are only made in the winter–like chicken pot pie.  A few years ago I was on a chicken pot pie kick, but we haven’t had them in quite some time and I am not sure why.  They are so easy and I love a good chicken pot pie.

I am not talking about ones from the freezer aisle or that horrid fast-food chain (you know the one).  I am talking about homemade, simple ingredients, keep you warm on a cold night, kind of pot pie.  In the past, I have made passable pot pies, edible pot pies if you will.  But this is an amazing chicken pot pie. So amazing that my husband who has never liked chicken pot pies now complains that I don’t make them enough.

If you want all the fancy pics with step by step instructions, go here to get the full experience. While you are waiting for the pot pie to cook, browse around the recipes because there are some really, really, REALLY good ones (I could seriously drink her homemade BBQ sauce).  If you trust me, just scroll down and make it–you won’t be disappointed!

There’s a lot of room for changes in this recipe…here’s what I did:

No corn or peas; subbed green beans.

Subbed sweet potatoes for regular potatoes.

The original recipe called for poached breasts, but I used my crockpot chicken.  That way you get homemade broth, too.

I wouldn’t add any extra salt after the 2 tsps. and I added a large pinch of dried sage.

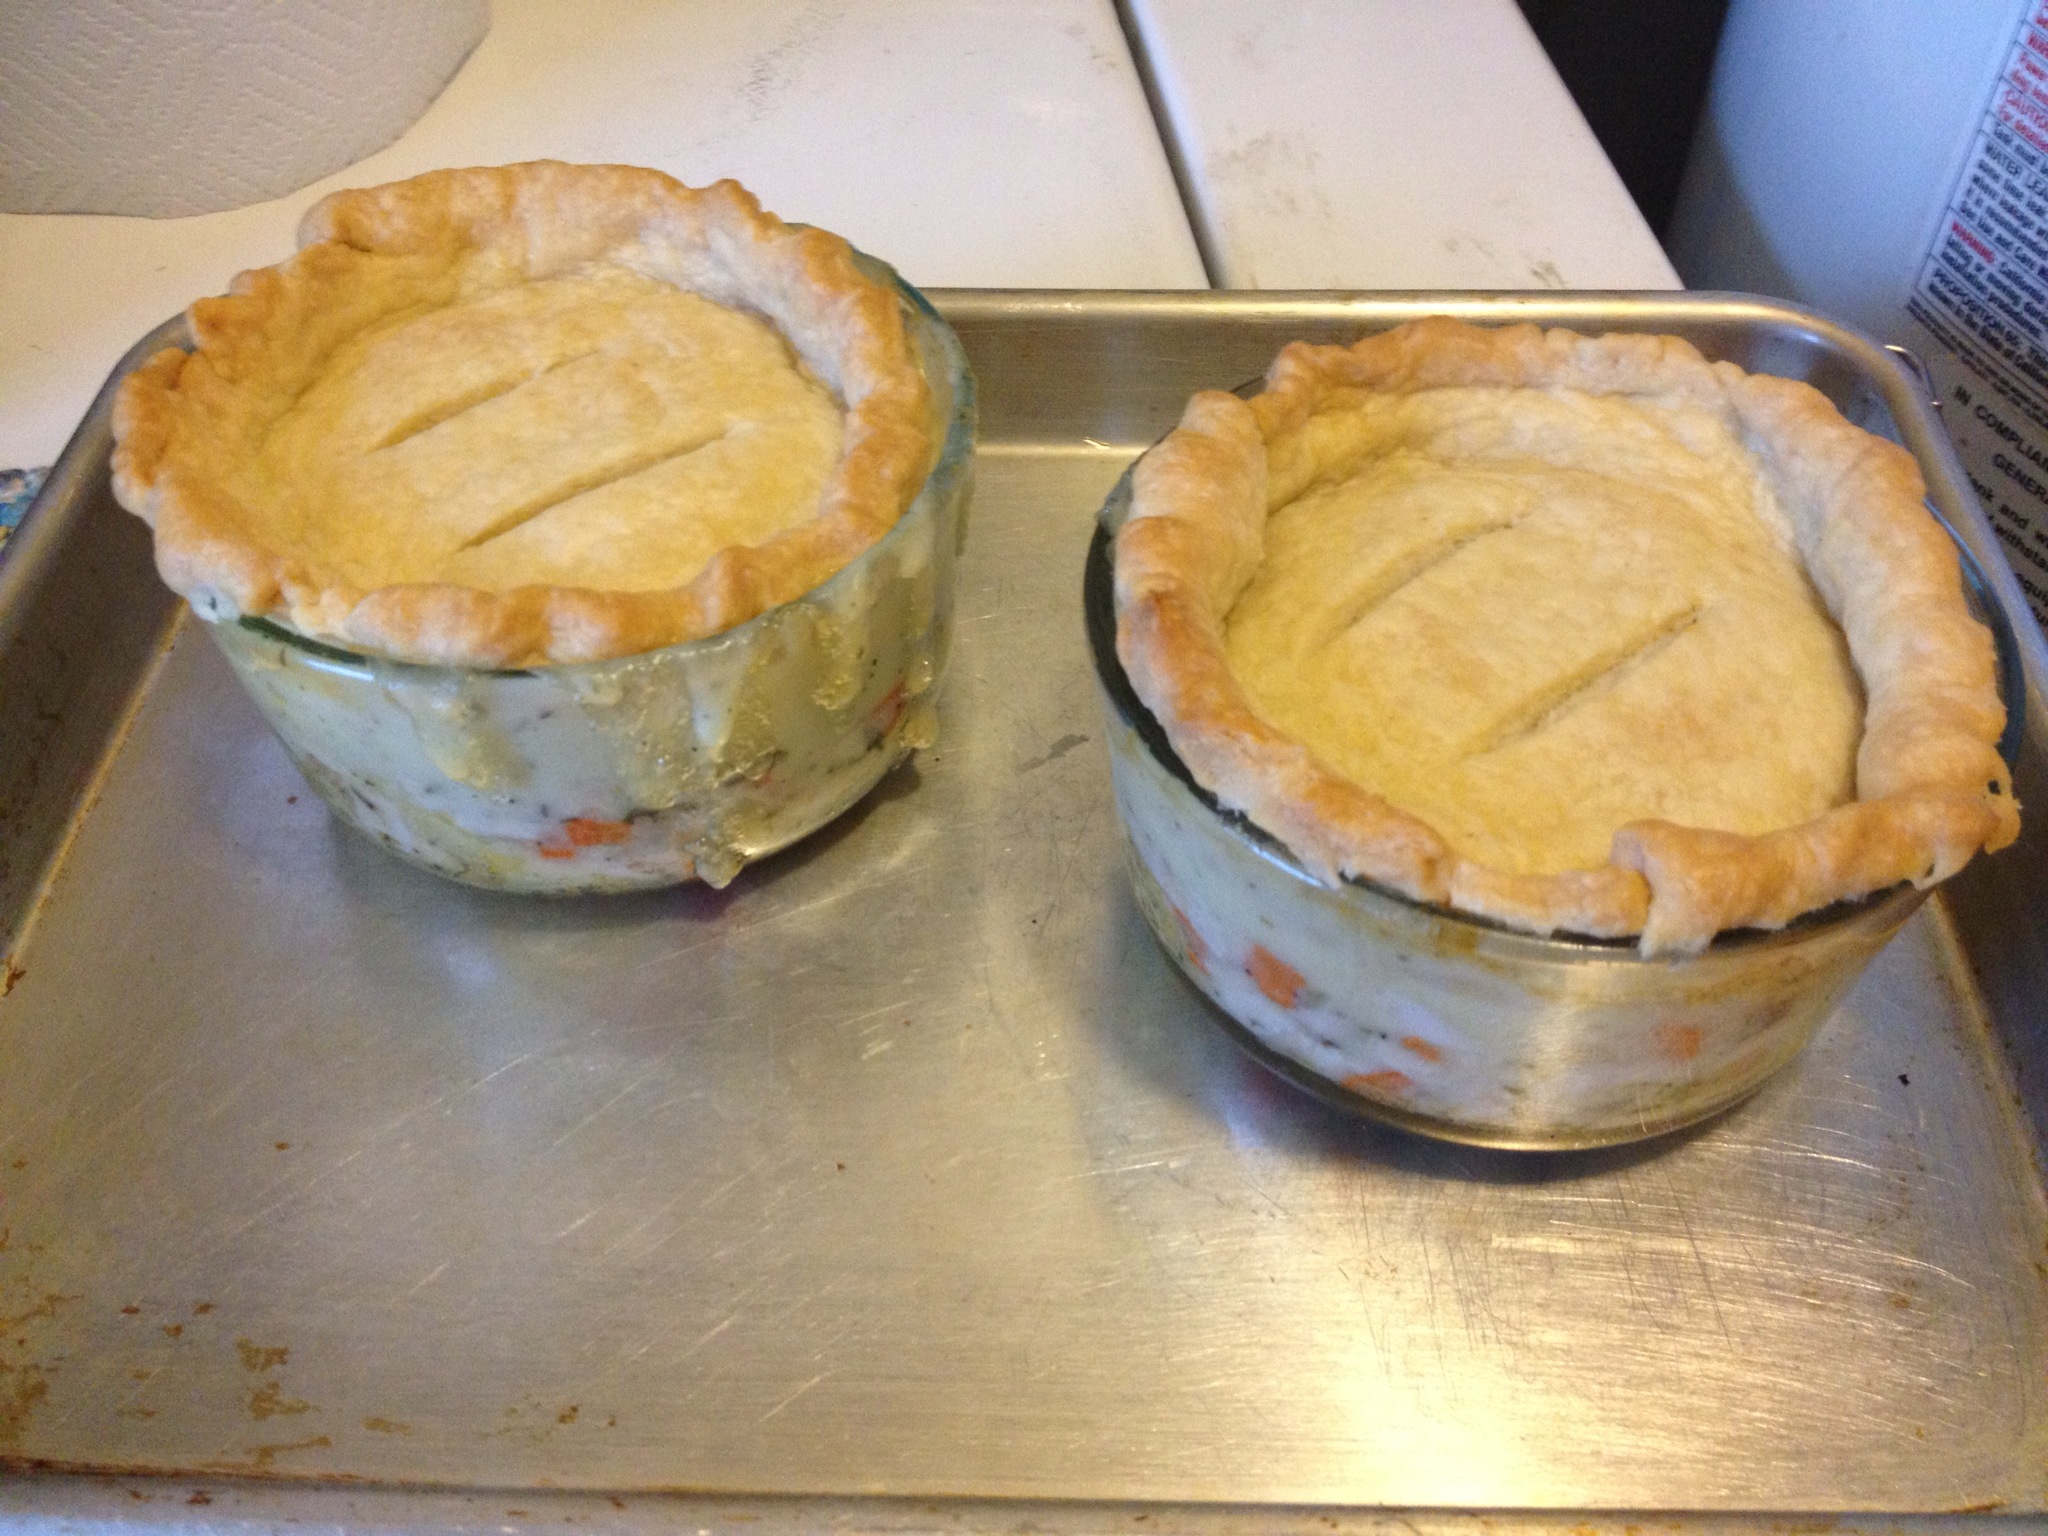
I halved the recipe and used three 2 cup Pyrex bowls, but next time I will use 1 cup bowls (we did eat it all, but we really should not have) or fill the 2 cup bowls only halfway.

I froze these twice and both times it was as good as freshly made. I use Pyrex, so I placed it in a cold oven, then turn it on to make sure the Pyrex heats slowly. Cooking from frozen is about 45 minutes. Also, I smoked a chicken and made broth with the bones and it was AMAZING!  It had a sweet smoky warm flavor that we now crave.

Homemade Chicken Pot Pies

Adapted from simplyscratch.com

Yield: 6 servings
Prep Time: about 1 hour {not including making your own pie crust or broth}
Cook Time: 25-30 minutes
Total Time: 1 hour 30 minutes {give or take}

Ingredients:

1 pound cooked chicken
1 stick of Butter, divided
2 whole Carrots, peeled and diced small
2 Celery Stalks, diced small
1 cup Diced Cooked Potatoes (sub sweet potatoes)
1 medium Yellow Onion, peeled and diced small
1 cup Frozen Peas (sub green beans)
1/2 cup Frozen Corn (sub any veggie you like or add more of another)
3 cups Chicken Broth, warmed
1-1/2 cups Whole Milk (or 1 cup whole milk + 1/2 cup heavy whipping cream)
1/2 cup Flour
2 teaspoons Kosher Salt, more or less to taste
1/2 teaspoons Black Pepper, more or less to taste
1 tablespoon Dried Parsley
1 teaspoon Chopped Fresh Thyme
1 large pinch Dried Sage (optional)
1 recipe for Homemade Pie Crust  (Cook’s Illustrated suggests Pillsbury Ready to Roll pie crust if you don’t want to make your own)
6 (10-ounce) Ramekins, 1 cup or 2 cup pyrex bowls.

Directions:

TO COOK THE CHICKEN: Place a whole chicken in a crockpot and cover with water. Cook on low overnight. Remove and debone chicken in the morning. Place all bones back in the crockpot of broth and simmer for another 4 hours.  Shred chicken with two forks and chop any large pieces.  Put in the fridge until ready to make the pot pies.

TO MAKE THE POT PIES: Preheat your oven to 375 degrees and grease six 10-ounce ramekins with butter or olive oil.

Roll the pie crust out and use a bowl {slightly larger than the ramekin}, trace and cut out 6 circles, using the scraps to make more if needed. Keep the dough circles in the fridge so they stay cold. If you are freezing in pyrex with lids, cut the dough to fit into the bowl and up the sides a bit; not over the sides.

Melt 3 tablespoons of butter in a large Dutch oven.

Add in the diced carrots and cook for 5 minutes. Add in the diced onion and celery and season with a teaspoon of kosher salt and 1/2 teaspoon of black pepper. Cook until the onions are soft and translucent and the carrots are soft {but not too soft}.

Now add in the remaining 6 tablespoons of butter and let that melt. Once melted add in the half cup of flour and stir often while it cooks for 2 minutes.

Pour in the 3 cups of hot chicken broth and the 1-1/2 cups of whole milk. Let that simmer, stirring occasionally until thickened 5-8 minutes.

Next add in the frozen peas, corn, or other veggies, cooked chicken, dried parsley and chopped fresh thyme. Stir. Taste, add seasoning further, with up to a teaspoon more of salt and a little more black pepper if desired.

Place the ramekins on a rimmed baking sheet. Evenly divide the diced cooked (sweet) potatoes into each prepared ramekin.

Spoon the pot pie filling evenly over the potatoes, filling the ramekins to the brim. Let them cool down a bit before placing the pie dough over the top and crimping the edges. With a sharp knife make slits for ventilation.

Slide the tray of pot pies into a preheated 375 degree oven and bake for 20-25 minutes or until the crust is golden.

Remove and let them cool for 10 minutes before serving.

NOTES:

*For a glossy top crust, try beating an egg with a tablespoon of water and brush over top before baking.

*This can also be made in one 13×9 baking dish.

Two to cook, four waiting for crusts and into the freezer for later.

Let me know how they turned out for you in the comments below.

Filed Under: Recipes Tagged With: recipes

  • « Previous Page
  • 1
  • 2
  • 3
  • 4
  • Next Page »

Welcome to Stuart Farm!

We’re Serena and Fred Stuart. While raising healthy and happy animals is our #1 goal, we’re also here to serve you! If you’re looking for help in navigating healthy eating and living, you are in the right place! We’re here to answer your questions and help you feed your family meat and eggs you can feel good about. We share farm stories that gives you a peek into our life, recipes to try, health tips, and more. We hope you enjoy coming along on our farm adventures.

Connect with us

  • View StuartFarmLLC’s profile on Facebook
  • View stuart_farm’s profile on Instagram

Contact Us

573-764-2324 please leave a message .
Farm hours are by appointment only.

Tags

Beef recipes broth chickens delivery Devons Dorkings Eggs Farm Life Freedom Rangers garden lard pigs Pyrs raw diet recipes recipes sweets Silver Fox Rabbits Sugaring

Categories

  • Blog Posts (73)
    • Farm Life (39)
    • Mother Nature (1)
    • Our Animals (24)
    • Our Garden (2)
    • Pigs (5)
    • Projects (1)
    • Recipes (16)

Recent

  • 2025-2026 Our Years of Transition
  • Our Farmstay Is Now Open!
  • The Best Way to Take Charge of Your Health
  • Love is…
  • My Summer Reading List

Archives

Copyright © 2026 · Focus Pro Theme on Genesis Framework · WordPress · Log in

Loading Comments...